 how-to
How to Inspect Flat Roof Flashing: A Step-by-Step Guide
Table of Contents
- Why Flat Roof Flashing Inspection Matters
- What Roof Flashing Should Look Like
- Signs of Roof Flashing Leak Damage
- How Often to Inspect a Flat Roof
- Step-by-Step Flat Roof Inspection Checklist
- Before You Start: Safety, Access and Equipment
- Step 1: Ground-Level Survey
- Step 2: Inspect the Roof Surface and Membrane
- Step 3: Inspect Parapet Walls and Roof-to-Wall Upstands
- Step 4: Inspect Penetrations (Pipes, Vents, Cables)
- Step 5: Inspect Outlets, Drains and Internal Corners
- Step 6: Inspect Termination Bars and Edge Trims
- Step 7: Inspect Sealant and Mortar
- Step 8: Document and Grade Your Findings
- Step 9: Decide What Happens Next
- Distinguishing Flashing Failure from Other Leak Sources
- When to Call a Professional Roofer
- Frequently Asked Questions
Last Updated: October 6, 2026
Why Flat Roof Flashing Inspection Matters
A flat roof depends on its flashing to keep water out. Flashing seals joints where the roof meets walls, chimneys, pipes, and other structures.
Regular inspections catch deterioration, gaps, and sealant failure before rain turns them into leaks.
Most property owners wait for visible water stains on ceilings before calling a roofer. By then, damage has spread inside walls and under insulation.
What Roof Flashing Should Look Like
Healthy roof flashing sits flush against the roof surface, sealed tightly at every edge, with no visible cracks, gaps, or separation.
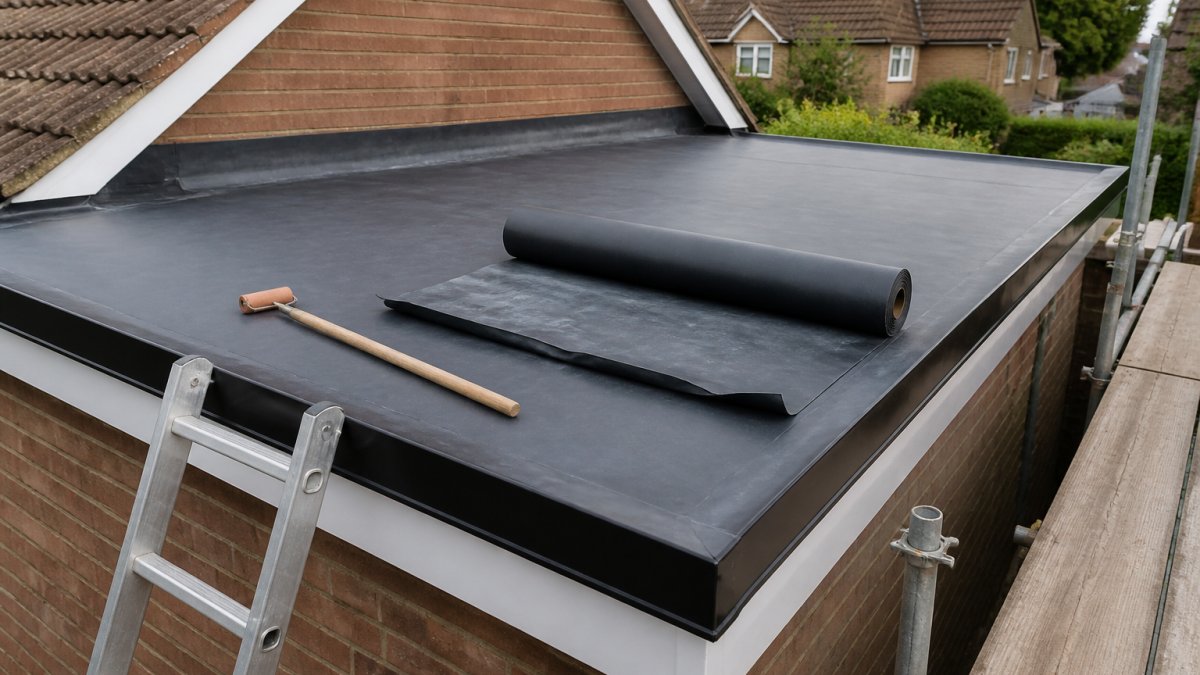
Appearance depends on material. Lead flashing is smooth and silvery-grey. EPDM rubber flashing is black and flexible. Metal flashing (typically aluminium or zinc) is shiny and rigid. Mortar-bedded flashing sits in a continuous bed of mortar around chimneys and walls.
What you're looking for:
- Smooth, continuous surface with no tears or holes
- Tight contact between flashing and the roof membrane
- Sealant that's intact and not cracked
Common Flashing Materials and Their Appearance
Lead flashing is heavy, durable, and lasts decades.
EPDM rubber flashing is flexible and bonds well to rubber roof membranes. It's common on modern flat roofs because it moves with the roof as temperatures change.
Metal flashing (aluminium or zinc-coated steel) is rigid and reflective, often used on roof edges and where the roof meets walls.
Mortar-bedded flashing sits in a bed of mortar around chimneys, walls, and penetrations. Cracks in the mortar are the first sign of trouble.
Signs of Roof Flashing Leak Damage
Water damage from flashing failure appears in two places: inside the building and on the roof itself.
Interior Warning Signs
Damp patches on interior walls suggest water is running down inside.
Mould or mildew smell indicates moisture is trapped inside, possibly hidden in wall cavities or under insulation.
Soft or spongy insulation means water has soaked through. Wet insulation loses thermal performance and can rot wooden structures.
Visible water pooling or dripping during rain shows the leak is active.
Exterior Damage Indicators
Gaps between flashing and the roof membrane are the most common problem.
Cracked or missing sealant around flashing edges leaves joints open. Sealant shrinks and cracks over time, especially in direct sunlight.
Corrosion or rust spots on metal flashing indicate the protective coating is compromised. Rust spreads quickly once it starts.
How Often to Inspect a Flat Roof
Inspect your flat roof flashing at least twice a year: once in spring and once in autumn.
After severe weather (heavy rain, high winds, snow), do an extra inspection for new damage or loose flashing.
If you've had a leak before, inspect more frequently.
For commercial properties or buildings with a history of leaks, quarterly inspections are wise.
Step-by-Step Flat Roof Inspection Checklist
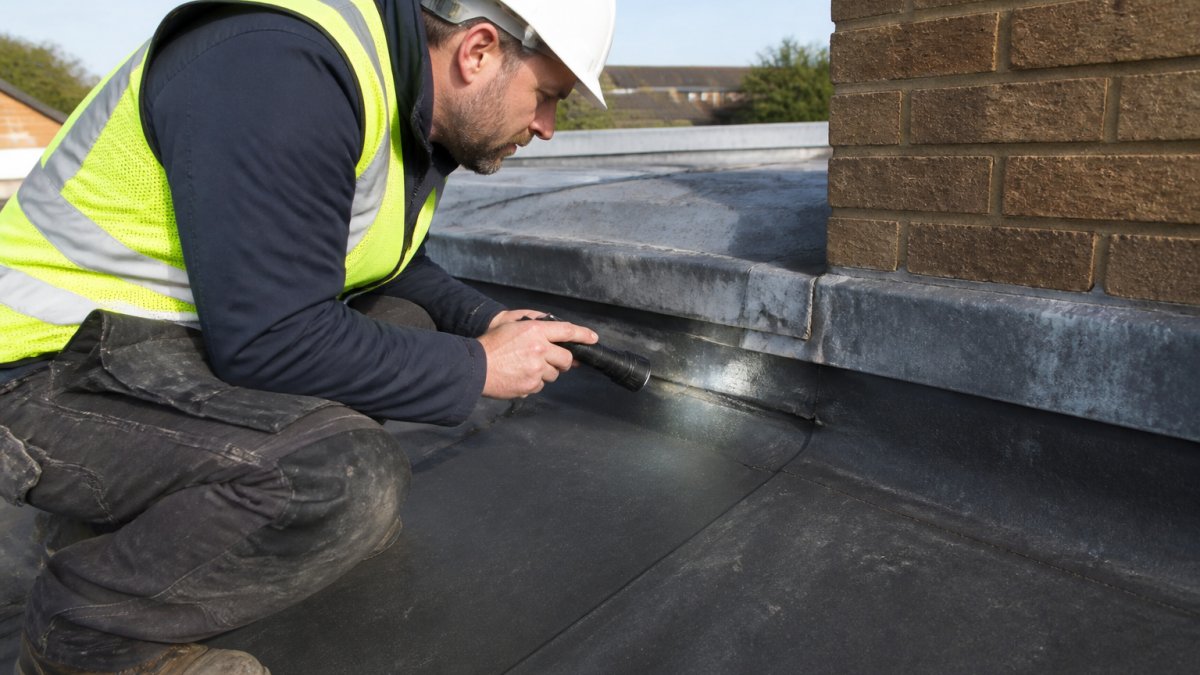
This checklist is sequenced so each step builds on the last. Work through it in order and you will not miss a junction.
Before You Start: Safety, Access and Equipment
Flat roofs are not automatically safer than pitched roofs.
Never inspect alone. Have someone with you who can call for help if you slip.
Wear slip-resistant footwear with good grip. Smooth soles are dangerous on wet or dusty membranes.
Stay back from edges and rooflights. On a flat roof, the edge is often the weakest point.
Gather these tools:
- Binoculars, for checking junctions you cannot safely reach
- Torch or headlamp, for looking into gaps, shadows and under flashing edges
- Notebook or phone camera, for documenting findings
If your roof has no safe access, no edge protection, or is more than one storey high, do not attempt to walk it. Ground-level inspection with binoculars, plus a professional survey, is the correct approach.
Step 1: Ground-Level Survey
Before you go up, walk the perimeter of the building at ground level. This is the step most people skip, and it is where you often spot the first clue.
- Look at the roofline for sagging, ponding, or visible dips. Ponding water is a common cause of premature flashing failure because it keeps the junction permanently wet.
- Look at the walls just below the roof edge for damp patches, staining, or blown render. Water that has escaped at the edge often shows here first.
- Check the underside of any overhanging eaves or soffits for staining.
Step 2: Inspect the Roof Surface and Membrane
The membrane is the large flat area. You are not inspecting it in detail here, you are looking for clues that point to flashing problems.
- Ponding water. Standing water more than 48 hours after rain suggests a drainage fall problem. Ponding at a flashing junction accelerates sealant and mortar failure.
- Blistering or bubbling. Raised, soft areas in the membrane often mean moisture is trapped underneath. This frequently starts at a flashing detail.
- Splits, tears, or punctures. Note any damage near junctions, because water can travel sideways under the membrane and emerge at a flashing detail far from the actual hole.
Step 3: Inspect Parapet Walls and Roof-to-Wall Upstands
This is the most common flat-roof leak location and the one most generic guides miss.
- Check the upstand height. The flashing should turn up the wall by at least 150 mm above the finished roof surface, and higher where snow can accumulate. If the upstand is lower, water can be driven over the top in wind-driven rain.
- Check the top edge. Look for a termination bar, a chased-in groove, or a capping. The top edge of the flashing must be mechanically fixed and sealed. If the top edge is loose, water will run behind the flashing.
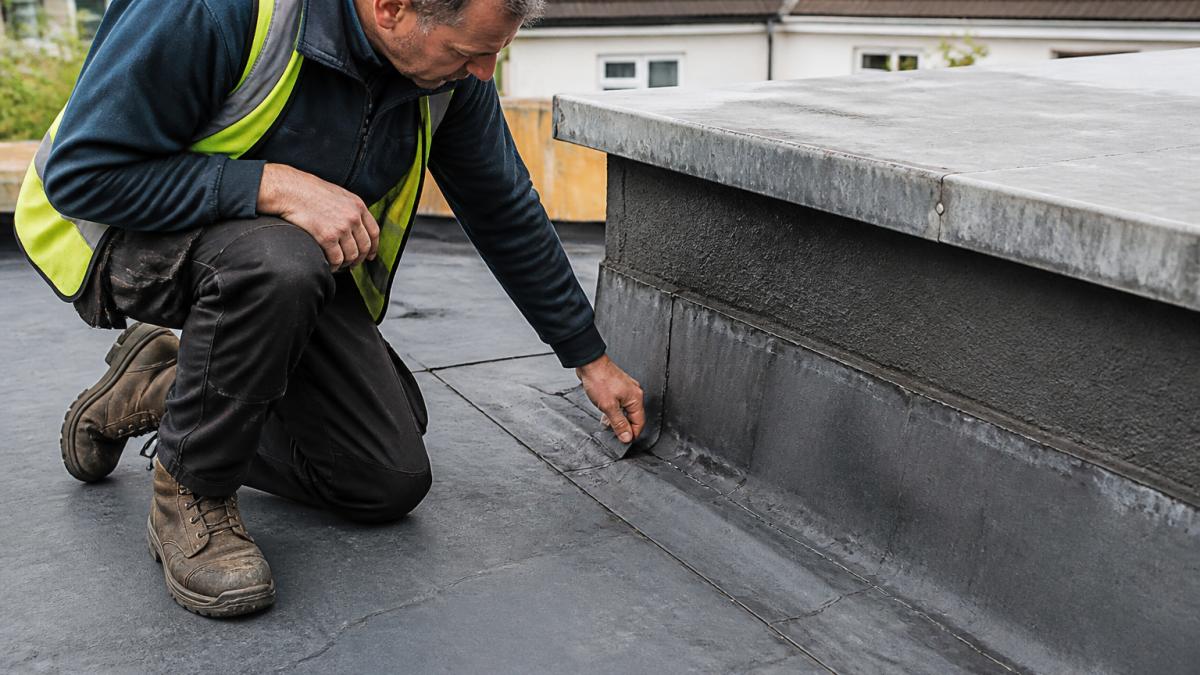
- Check the base of the upstand. Look for separation between the flashing and the membrane. Run your hand along the fillet if you can reach it safely. Any gap, however small, is a leak path.
Step 4: Inspect Penetrations (Pipes, Vents, Cables)
Every pipe, vent, or cable that passes through the roof is a potential leak point.
- Check the collar or boot. On EPDM and single-ply systems, this is usually a pre-formed collar. On felt systems, it is often a dressed detail with a sealant bead. Look for lifting, cracking, or separation from the pipe.
- Check the seal around the pipe. The sealant or clamp should be tight and continuous. A common failure is a collar that has been pulled up the pipe by thermal movement, leaving a gap at the base.
- Check the base flange. The flange should be fully bonded or mechanically fixed to the membrane with no lifting at the edges.
Step 5: Inspect Outlets, Drains and Internal Corners
Outlets and internal corners are where water naturally collects, so flashing here is under constant load.
- Check the outlet collar. The flashing around a rainwater outlet must be fully bonded to both the outlet and the membrane. Look for lifting, cracking, or gaps.
- Check the sump or gutter. If the outlet is set into a sump, check that the flashing dresses cleanly into it without ponding against a seal.
- Check internal corners. Where two walls meet, the flashing must be formed as a single piece or with a properly lapped corner.
Step 6: Inspect Termination Bars and Edge Trims
- Termination bars. These are metal strips fixed over the top edge of flashing. Check that fixings are tight, the bar is straight, and the sealant line above it is intact. Loose termination bars are a very common source of hidden leaks.
- Edge trims and drip edges. Check that the edge trim is fixed, that the drip edge is clear, and that the membrane is not pulling out of the trim.
- Check the drip line. Water should drip clear of the wall. If water is running back under the edge, the drip detail has failed.
Step 7: Inspect Sealant and Mortar
- Sealant. Run a finger or blunt probe along visible sealant beads. It should be flexible and slightly tacky, not hard, cracked, or crumbly. Look for gaps, peeling, and lifting.
- Mortar. Around chimneys and some older upstands, flashing is bedded in mortar. Tap it gently with a blunt tool. Sound mortar is firm; hollow or soft mortar is failing. Look for cracks, missing chunks, and powder on the roof surface.
- Joints between materials. Where lead meets felt, or metal meets EPDM, the joint relies on sealant or a cover strip. These are high-risk points and should be checked individually.
Step 8: Document and Grade Your Findings
Documentation turns a one-off inspection into a maintenance record. This is where you can get ahead of most guides, which stop at "take a photo".
- Photograph each defect with a wide shot for location and a close-up for detail. Include something for scale, such as a coin or tape measure.
- Record the location precisely, for example "north-east internal corner, 2 m from outlet" or "west side of chimney, top termination bar".
- Describe the defect in plain terms: "gap between flashing and membrane, approximately 3 mm", "cracked mortar on east side of chimney", "termination bar loose for 400 mm".
A simple spreadsheet with columns for date, location, defect, severity, action, and photo reference is enough. The value is in the trend, not the individual entry.
Step 9: Decide What Happens Next
- Minor defects, note them and re-check at the next scheduled inspection.
- Moderate defects, book a repair before the next winter or rainy season.
- Urgent defects, stop using the roof, and arrange a professional repair. If water is entering the building, treat it as urgent even if the visible defect looks small.
If you are unsure about any finding, photograph it and ask a professional to review the image before deciding. A second opinion on a photo is far cheaper than a missed leak.
Distinguishing Flashing Failure from Other Leak Sources
Not every ceiling stain comes from flashing failure. On a flat roof, water can enter through the membrane, a blocked outlet, a failed penetration collar, or even condensation. Water rarely appears directly below where it enters, it runs along the underside of the membrane, along purlins, or down a wall cavity before showing itself.
A short diagnostic sequence will get you much closer to the real cause.
Step 1: Establish Whether the Leak Is Active or Historic
- Active leak, water appears, drips, or stains grow during or shortly after rain. This points to a current defect in the roof covering or flashing.
- Historic leak, the stain is dry, stable, and does not change with weather. This may be an old leak that has already been repaired, or a stain from a previous event. Do not assume it is fixed; check the roof above it.
- Intermittent leak, appears only in certain wind directions or only after heavy rain. This often points to a flashing detail that is only breached under wind-driven rain, such as a low upstand or a loose termination bar.
Step 2: Compare the Leak Location to the Roof Above
- Directly below a junction, chimney, parapet, pipe, or wall. Flashing is the prime suspect.
- Directly below a penetration, pipe, vent, or cable. Check the collar and base flange first.
- Below an outlet or low point, drainage or ponding is the prime suspect, with flashing as a secondary cause.
Step 3: Rule Out the Common Non-Flashing Causes
Work through these in order. Each one is quick to check and rules out a large category of leaks.
- Blocked or overflowing gutters and outlets. If water is backing up, it will find the nearest weak point, often a flashing detail. Clear the drainage first, then re-check.
- Ponding water. Standing water more than 48 hours after rain keeps flashing and sealant permanently wet. Ponding is a cause in its own right, and it accelerates flashing failure.
- Membrane damage. Look for splits, punctures, blisters, and open laps. A membrane defect can leak independently of flashing, and water can travel under the membrane to emerge at a flashing line.
Step 4: Use the Weather Pattern as a Clue
The timing of the leak is one of the most useful diagnostic tools, and most guides ignore it.
- Leak after any rain, a general flashing or membrane defect.
- Leak only in wind-driven rain, a low upstand, a loose termination bar, or a gap that only opens under pressure.
- Leak after heavy rain but not light rain, ponding, a blocked outlet, or a defect that only overtops under volume.
Step 5: Confirm Before You Repair
Before committing to a flashing repair, do a simple confirmation test where it is safe to do so:
- Water test. With a helper inside and you outside, gently apply water from a hose at low pressure to the suspect junction, starting low and working up. Stop as soon as the leak appears inside. This isolates the entry point. Do not do this in freezing conditions, and do not use a pressure washer, which can force water through otherwise sound details.
- Check the underside. If you can safely see the underside of the roof deck, look for staining, damp timber, or water tracking. This often shows the path water is taking.
- Re-inspect after the test. Confirm the defect you found is actually wet and is on the path of the water.
A water test can make an existing leak worse and can damage insulation and ceilings. Only carry it out if you can control the water and stop immediately, and never on a roof you are not confident is safe to access.
Step 6: When the Cause Is Still Unclear
If you have ruled out drainage, membrane damage, penetration collars, and condensation, and the leak still does not match a single cause, the most likely explanation is that water is travelling. On flat roofs, water commonly enters at one junction and emerges several metres away.
In that situation:
- Treat the whole roof-to-wall perimeter as suspect, not just the area above the stain.
- Check every penetration and outlet, not just the nearest one.
- Photograph everything and note the weather pattern.
The key diagnostic question is not "where is the stain?" but "where could water enter and travel to that point?". Flashing failure is the most common cause of flat roof leaks, but it is not the only one, and confirming the cause before repairing saves both time and money.
When to Call a Professional Roofer
Some inspections you can do yourself. Some problems need professional expertise.
Call a roofer if you find:
- Gaps wider than 2-3 mm between flashing and surfaces
- Cracked or missing sealant over more than a small area
- Crumbling or missing mortar around chimneys
Call immediately if:
- Water is actively leaking during or after rain
- You see mould or mildew inside
- Insulation is wet or soft
A professional roofer can assess whether repair or replacement is needed, and can identify problems you may have missed.
ARRC Ltd offers expert flat roof inspections and repairs across the region. Our team has over 30 years of experience identifying flashing problems and fixing them properly.
Frequently Asked Questions
What are the signs that flat roof flashing is failing?
Common signs include visible gaps between flashing and the roof surface or walls, lifted or curled edges, cracked or missing sealant, rust or corrosion on metal flashing, and water stains or damp patches on interior ceilings. Lead flashing may show discoloration or delamination. If you notice any of these, contact a roofer promptly to prevent water ingress into your property.
How often should you inspect a flat roof for flashing damage?
Inspect your flat roof flashing at least twice yearly: once in spring after winter weather and again in autumn before the rainy season. Additional inspections are recommended after severe weather, storms, or heavy rain. Regular checks help catch deterioration early and prevent costly water damage to your roof membrane and building interior.
Can I inspect flat roof flashing from the ground?
Basic visual checks are possible from the ground using binoculars to spot obvious damage like lifted edges, gaps, or corrosion. However, a thorough inspection requires safe access to the roof itself to check sealant condition, fasteners, and junctions properly. If your roof is steep or you're uncomfortable with heights, hire a professional roofer to perform a complete assessment.
What should I do if I find loose or damaged flashing during inspection?
Document the damage with photos and note its location and severity. Small gaps in sealant may be addressed with fresh mortar or sealant, but lifted, pulled-away, or corroded flashing typically requires professional repair or replacement. Contact a qualified roofer to assess whether temporary measures will suffice or if the flashing system needs replacing to prevent water ingress.
Regular inspection of your flat roof flashing stops small problems from becoming expensive disasters. Catch gaps, cracks, and deterioration early, and your roof will stay watertight for years. When you find damage you can't handle yourself, call ARRC Ltd for professional repair and peace of mind backed by decades of roofing expertise.