 how-to
Flat Roof Insulation Upgrades for Energy Efficiency
Table of Contents
- Why Flat Roof Insulation Upgrades Matter for Energy Efficiency
- Understanding Warm Flat Roof Insulation Systems
- Choosing the Right Flat Roof Insulation Materials
- Determining the Right Flat Roof Insulation Thickness
- Managing Flat Roof Condensation and Ventilation
- Step-by-Step Guide to Upgrading Your Flat Roof Insulation
- Energy Savings, Durability, and Building Regulations
- Common Mistakes to Avoid When Upgrading Flat Roof Insulation
- Frequently Asked Questions
Last Updated: October 10, 2026
Why Flat Roof Insulation Upgrades Matter for Energy Efficiency
Flat roof insulation upgrades are one of the most effective ways to reduce heat loss and lower your energy bills. A poorly insulated flat roof lets warmth escape in winter and heat build up in summer, forcing your heating and cooling systems to work harder than necessary.
The benefits go beyond just saving money. Better insulation means more consistent indoor temperatures, fewer cold spots, and improved comfort year-round. It also extends the life of your roof by protecting the underlying structure from temperature swings and moisture damage.
Modern flat roof insulation systems can deliver measurable results. Upgrading from an uninsulated or poorly insulated flat roof typically reduces heating energy consumption noticeably. The key is choosing the right system and installing it correctly.
Understanding Warm Flat Roof Insulation Systems
A warm roof is the most common modern approach to flat roof insulation. The insulation sits above the structural deck, beneath the weatherproof membrane. This placement keeps the entire roof structure warm, which prevents condensation and extends the life of your building's structure.
Warm roofs differ fundamentally from cold roof construction in how they manage heat and moisture. Understanding this difference is crucial when planning an upgrade.
How Warm Roofs Differ from Cold Roof Construction
A warm roof places insulation on top of the deck, creating a single thermal barrier. The roofing membrane sits above the insulation, protecting everything below. This design is more efficient because the entire structure stays warm and dry.
Cold roofs, by contrast, place insulation between the deck and the interior space, leaving an air gap above the insulation. This design is older and less common in modern builds.
For flat roof insulation upgrades, warm roof systems are almost always the better choice. They're easier to install during renovation, they perform more reliably, and they eliminate the ventilation complexity of cold roofs.
Choosing the Right Flat Roof Insulation Materials
Flat roof insulation materials come in several types, each with different thermal properties, durability, and cost implications. The right choice depends on your roof size, climate, budget, and whether you're replacing an entire roof or just upgrading the insulation layer.
Common materials include rigid boards, spray foam, and older bulk materials. Rigid boards are the most popular for renovations because they're easy to handle, reliable, and cost-effective.
Polyisocyanurate (PIR) and Expanded Polystyrene (EPS)
PIR insulation boards offer excellent thermal resistance in a relatively thin package. They're rigid, moisture-resistant, and provide consistent performance over decades. PIR is commonly used in commercial and residential flat roof upgrades because of its reliability and thermal efficiency.
EPS insulation is a lighter, more economical option. It provides good insulation value but requires slightly greater thickness to match PIR's thermal performance. EPS boards are easier to cut and handle on site, which can reduce installation time.
Both materials work well for flat roof insulation upgrades. PIR typically performs better in demanding environments, while EPS suits budget-conscious projects where space permits a thicker installation.
Spray Foam and Rigid Insulation Boards
Spray foam insulation creates a seamless thermal barrier and fills gaps automatically. It's excellent for complex roof shapes or areas with many penetrations. However, spray foam requires specialist application and is generally more expensive than rigid boards.
Rigid insulation boards remain the standard choice for most flat roof insulation upgrades. They're straightforward to install, their performance is predictable, and they work with standard roofing membranes. Boards also allow easier inspection of the roof structure and simpler repairs if needed.
Determining the Right Flat Roof Insulation Thickness
Insulation thickness directly affects thermal performance and energy savings. Thicker insulation provides better thermal resistance, but there's a practical limit beyond which additional thickness delivers diminishing returns.
Building regulations in the UK specify minimum U-values for flat roofs. The U-value measures how much heat passes through the roof, lower values mean better insulation.
Most modern flat roof insulation upgrades use between 100mm and 150mm of rigid insulation. This range typically meets current building regulations and delivers meaningful energy savings without excessive cost or structural complications.
Older properties sometimes require thicker insulation to meet current standards. Conversely, some commercial buildings prioritise cost efficiency and use minimum-code thickness. A qualified surveyor can assess your roof and recommend the appropriate thickness for your specific situation.
Managing Flat Roof Condensation and Ventilation
Condensation is one of the most common problems with poorly designed or poorly maintained flat roofs. Warm, moist air from inside your property rises and meets the cold underside of the roof.
Warm roof systems manage this risk effectively because the insulation keeps the structural deck warm. The roofing membrane sits above the insulation, so condensation forms on the membrane's top surface (outside) rather than underneath.
Cold roofs require active ventilation to manage moisture. Air gaps must be kept clear and continuous to allow moist air to escape. This is harder to maintain during renovation and more prone to failure.
When upgrading a flat roof, ensure your new insulation system is properly sealed and the membrane is fully adhered.
Step-by-Step Guide to Upgrading Your Flat Roof Insulation
Upgrading flat roof insulation is a significant project, but understanding the process helps you work effectively with contractors and ensures quality results. The work typically involves several distinct phases.
Assessing Your Current Roof Condition
Start by examining your existing roof for damage, leaks, or structural issues. Look for water stains on ceilings or walls, soft spots in the roof deck, or visible cracks in the membrane.
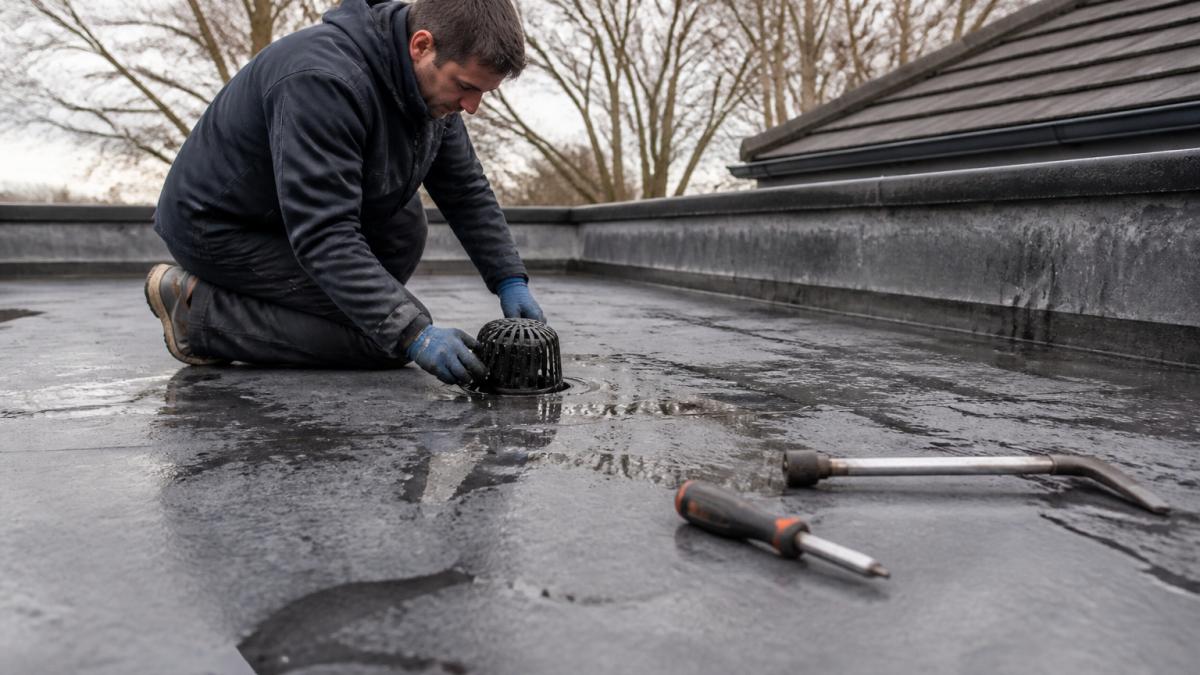
Check whether your existing roof is draining properly. Pooling water indicates poor slope or blocked drainage, which must be fixed before new insulation goes down. A roof with standing water will develop problems quickly, regardless of new insulation.
Document the current roof condition with photos. Note any areas of concern, previous repairs, or signs of moisture damage. This information helps contractors plan the upgrade and identify potential complications.
Preparing the Roof Surface and Removing Old Coverings
Most upgrades require removing the existing membrane and old insulation. This is dusty, labour-intensive work that typically takes several days depending on roof size.
Once the old materials are removed, inspect the structural deck for damage. Soft, rotted, or uneven areas must be repaired or replaced before new insulation is installed. A sound, level deck is essential for proper insulation performance.
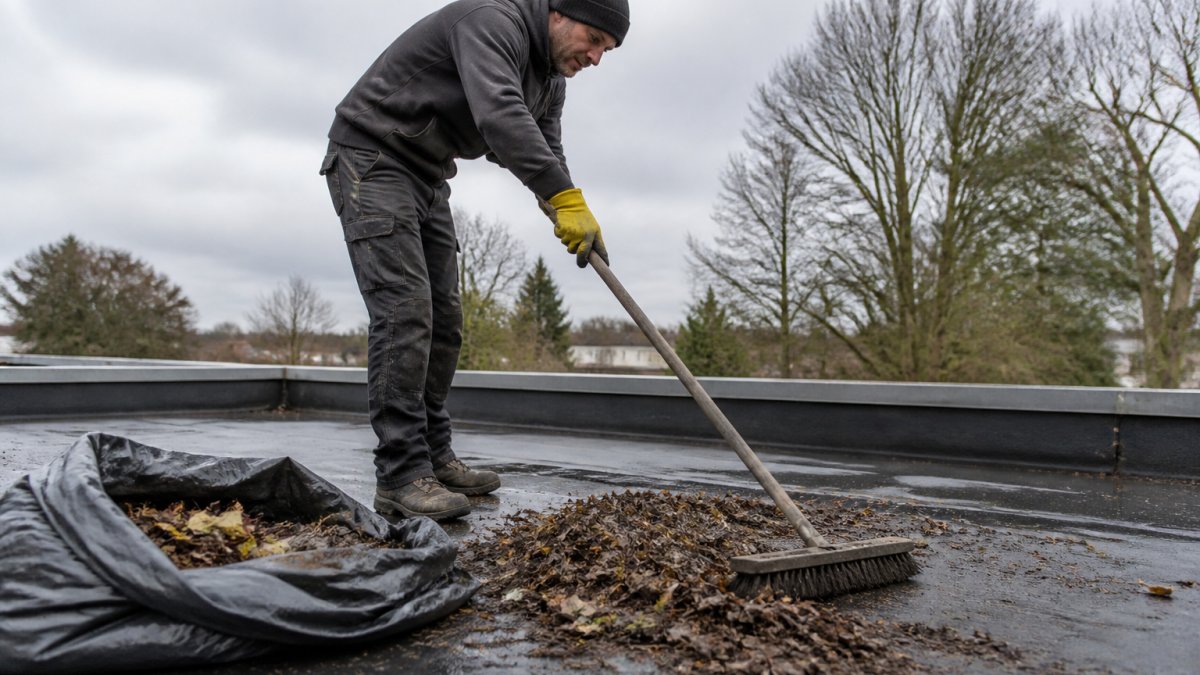
Clean the deck thoroughly to remove debris, dirt, and any remaining adhesive. A clean surface ensures the new insulation bonds properly and the membrane adheres correctly.
Installing New Insulation and Roofing Membrane
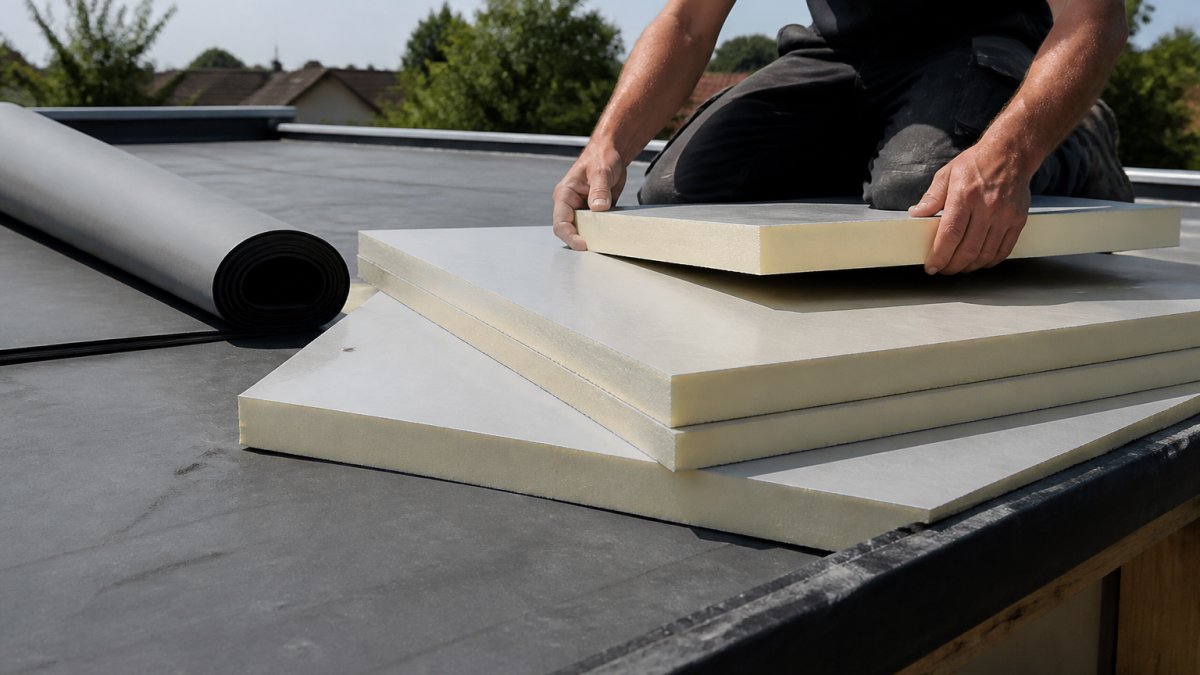
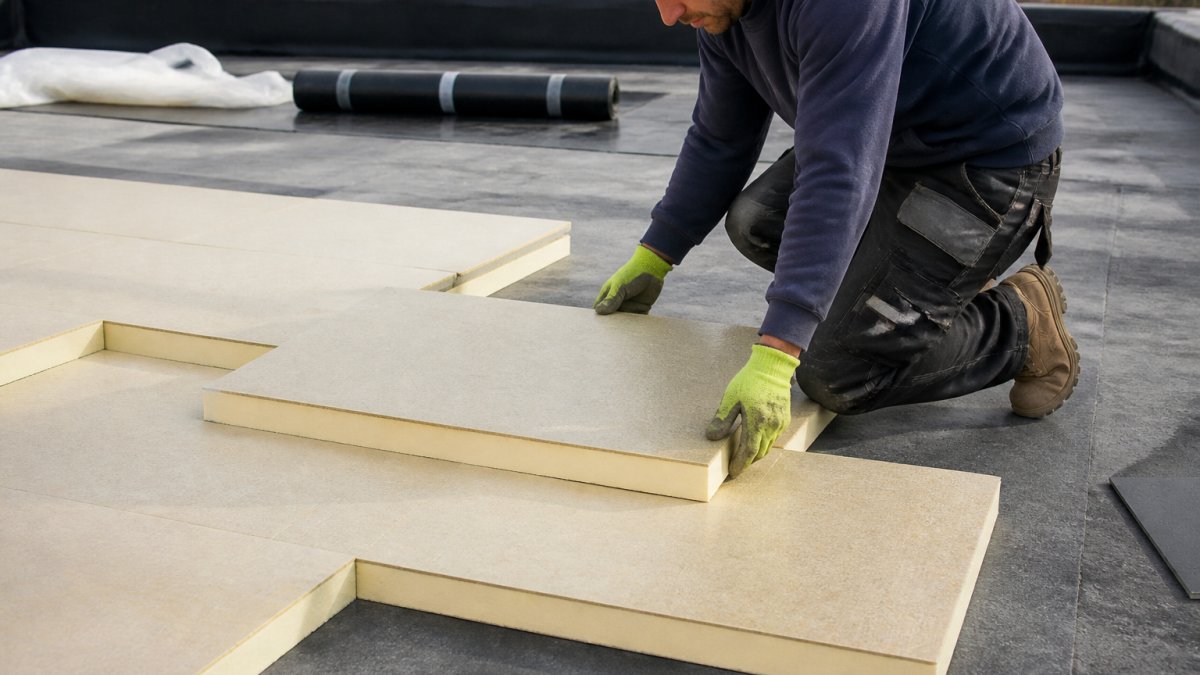
New insulation boards are laid across the deck, typically starting at the lowest point and working upward. Boards should be butted tightly together with minimal gaps. Any gaps larger than 5mm should be sealed with expanding foam or insulation tape.
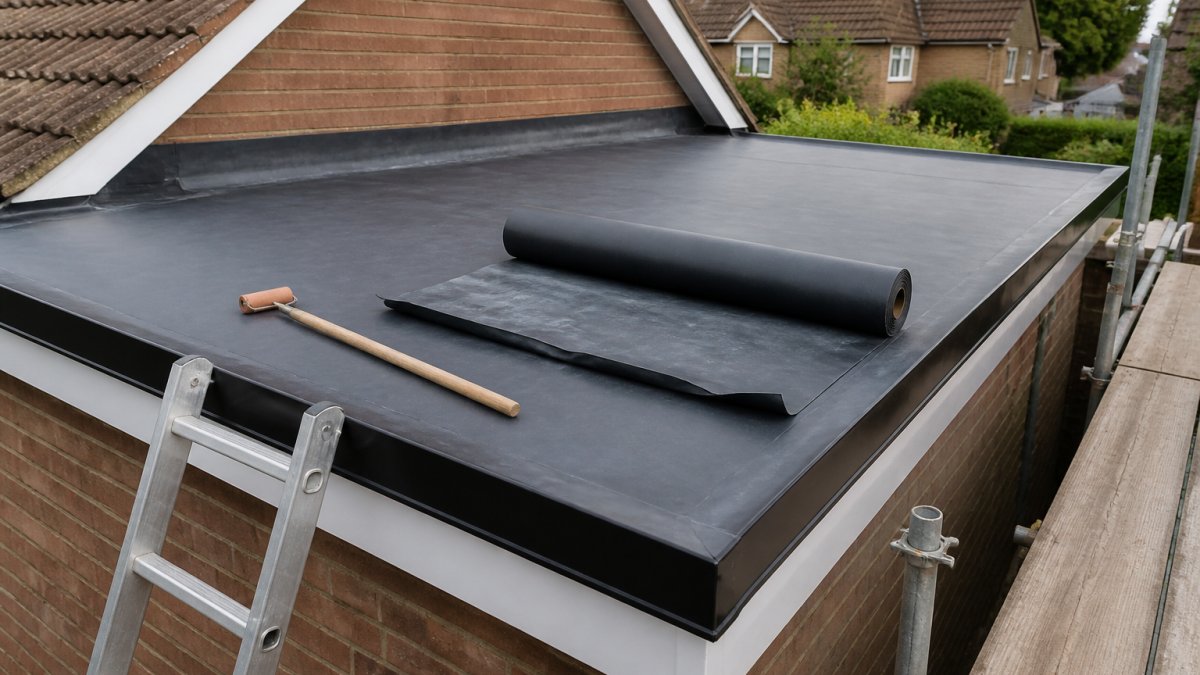
Once insulation is complete, the new roofing membrane is applied. This might be a torch-on felt, single-ply membrane, or liquid-applied coating, depending on your choice and budget. The membrane must be fully adhered or mechanically fixed to ensure it doesn't shift or separate.
Sealing Air Leaks and Joints
Proper sealing of all joints and penetrations is critical. Every pipe, vent, skylight, or edge detail must be sealed to prevent water ingress and air leakage.
Perimeter edges are sealed with upstands or flashing that directs water away from the building. Internal joints between insulation boards should be sealed with foam tape or compatible sealant. Roofing membrane joints must be properly sealed according to the membrane manufacturer's specifications.
Air sealing is often overlooked but makes a real difference to thermal performance. Gaps around penetrations or at edges allow warm air to escape, reducing the effectiveness of your new insulation.
Energy Savings, Durability, and Building Regulations
A properly installed flat roof insulation upgrade delivers measurable benefits. Energy savings typically begin immediately and compound over the life of the installation. Lower heating bills are the most obvious benefit, but improved comfort and roof durability matter equally.
Building regulations require flat roofs to meet specific U-value standards. Current regulations are stricter than older standards, which is why many older properties see significant improvements when upgraded.
The durability of your upgrade depends on material quality and installation workmanship. A well-installed warm roof system typically lasts 20-30 years or more.
Modern single-ply roofing membranes are more durable and more forgiving than older torch-on felts. They're less prone to cracking in temperature swings and resist UV damage more effectively. They also allow easier inspection and repairs if needed.
Common Mistakes to Avoid When Upgrading Flat Roof Insulation
The most common mistake is under-specifying insulation thickness to save money. This results in poor thermal performance and higher energy bills over time, negating the initial saving.
Another frequent error is poor surface preparation. If the deck isn't clean and level, the new insulation won't bond properly and the membrane won't adhere correctly.
Incomplete sealing of joints and penetrations is a major source of problems. Small gaps that seem insignificant during installation often become major water ingress points within a few years.
Choosing the wrong roofing membrane for your situation is another pitfall. Some membranes work better in certain climates or with certain insulation types.
Flat roof insulation upgrades are a proven way to cut energy costs and improve comfort. The process requires careful planning and quality workmanship, but the long-term benefits are substantial.
Frequently Asked Questions
How do you upgrade insulation on a flat roof?
Upgrading flat roof insulation involves inspecting the existing roof, removing old coverings if necessary, installing new insulation boards (typically PIR or EPS), sealing all joints and air gaps, and installing a new roofing membrane. The process depends on whether you're installing a warm roof (insulation above the structural deck) or cold roof (insulation between joists). Most upgrades require professional installation to ensure proper thermal performance and prevent moisture issues.
What is the best insulation thickness for flat roofs?
Flat roof insulation thickness depends on your U-value target under Building Regulations and your existing roof structure. Most residential upgrades use 100-150 mm of rigid insulation to achieve current energy-efficiency standards. Commercial buildings may require 150-200 mm or more. Thicker insulation improves thermal resistance but increases cost. A surveyor or roofing professional can calculate the exact thickness needed based on your building's requirements and climate zone.
Can you add insulation to an existing flat roof?
Yes, you can add insulation to an existing flat roof, either by installing a warm roof system (insulation above the structure) or upgrading to a new system. Adding insulation to an existing roof is often simpler than a full replacement if the current structure is sound. However, you must address any existing leaks or damage first. Adding insulation may raise the roof height slightly, which can affect guttering, fascias, and door clearances, so a professional assessment is essential before starting.
How can you prevent condensation when insulating a flat roof?
Prevent condensation by using a warm roof design where insulation sits above the structural deck, creating a continuous thermal layer. Ensure proper ventilation in any unheated spaces below the roof, and install a vapour barrier on the warm side of the insulation to stop moisture migration. Seal all air leaks and gaps around penetrations, joists, and edges. If upgrading a cold roof, improve ventilation pathways to allow moisture to escape. Professional installation with attention to air-tightness is critical to avoid condensation problems.