 how-to
Why Flat Roofs Leak in Winter: A Complete Guide
Table of Contents
- How Freeze-Thaw Cycles Damage Flat Roofs
- Standing Water and Poor Drainage: The Primary Winter Risk
- Signs of Flat Roof Failure You Cannot Ignore
- Material-Specific Winter Vulnerabilities
- Flat Roof Maintenance Tips for Winter Protection
- When to Call a Professional: Understanding Flat Roof Repair Cost
- Frequently Asked Questions
Last Updated: September 30, 2026
How Freeze-Thaw Cycles Damage Flat Roofs
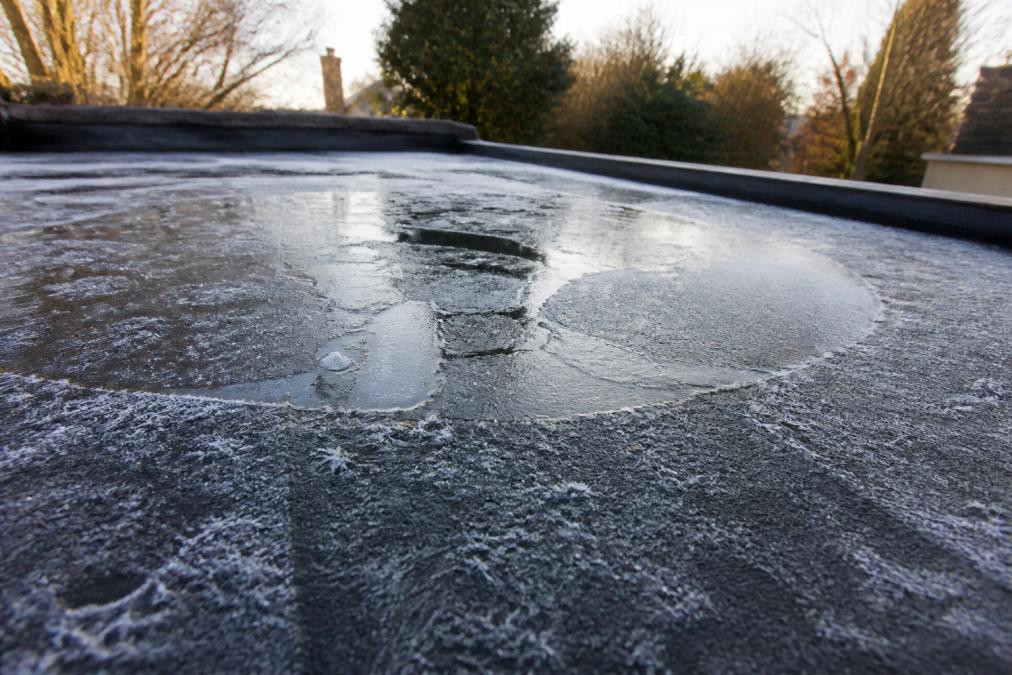
Freeze-thaw cycling is one of the primary reasons why flat roofs leak in winter. When water on your roof freezes, it expands by roughly 9 percent, forcing cracks wider. As it thaws, water drains deeper into the material. Repeated dozens of times each winter, this cycle progressively weakens the membrane.
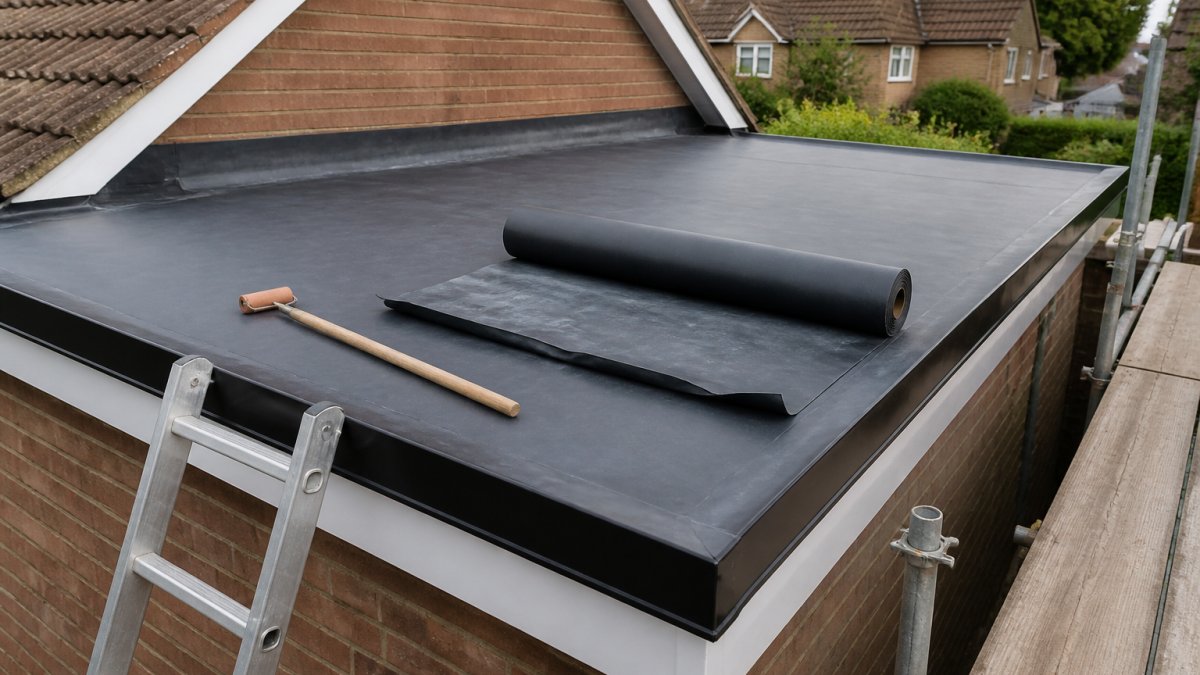
Bituminous membranes and felt roofing become brittle in cold weather and lose flexibility. EPDM rubber handles freeze-thaw cycles better but can fail if the underlying structure moves or water pools consistently.
Standing Water and Poor Drainage: The Primary Winter Risk
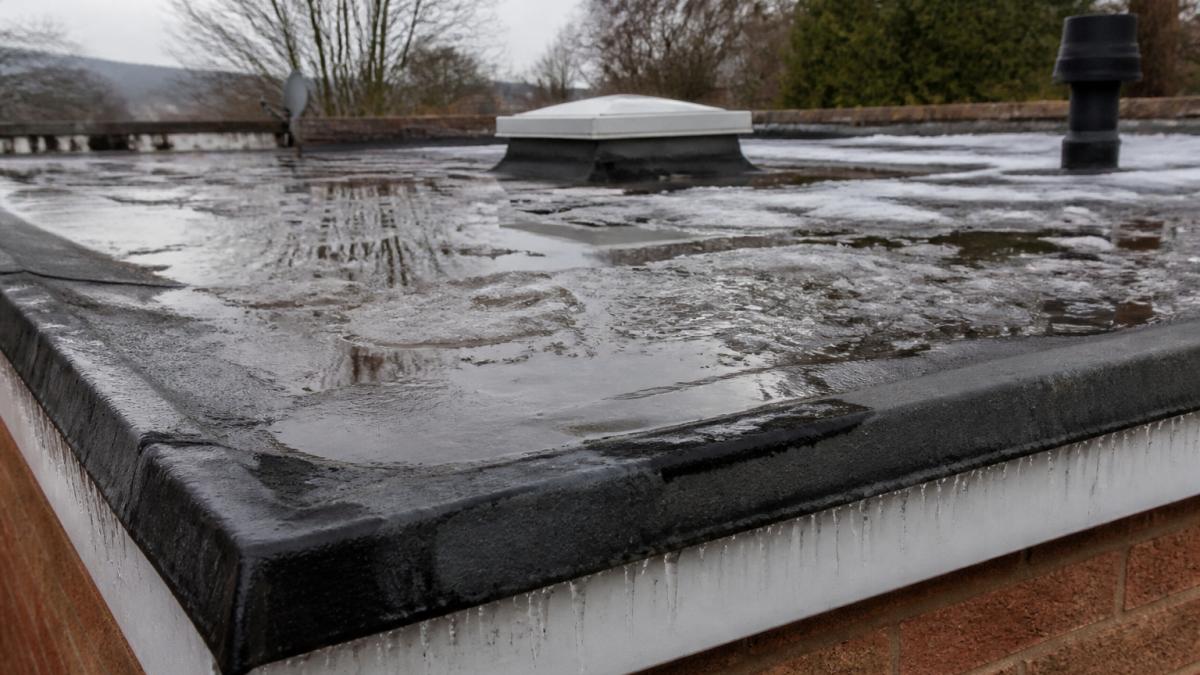
Standing water (ponding) on flat roofs is the biggest winter threat. Without proper drainage, water sits for days or weeks, creating multiple problems: pressure on the membrane, accelerated UV degradation, intensified freeze-thaw damage, and faster moisture seepage through defects.
Most flat roofs have a slight slope for drainage, but settling or poor installation can flatten it. Winter freezes gutters and downpipes, blocking drainage and trapping water on the roof.
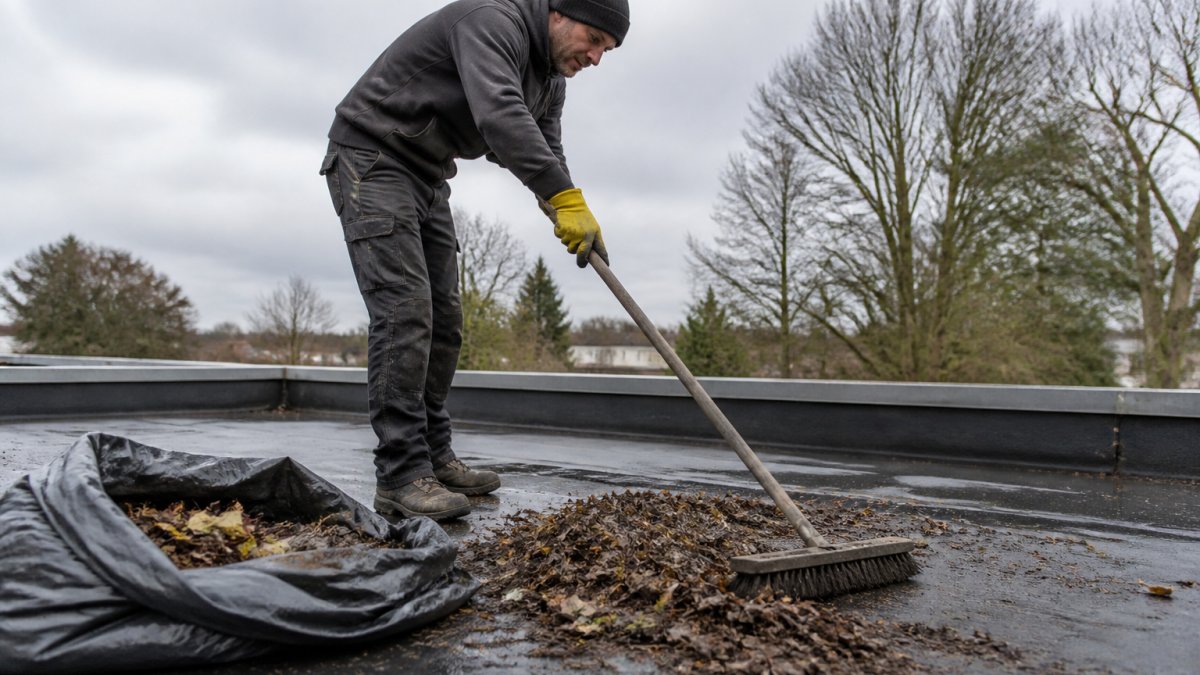
Clear gutters and downpipes of leaves and debris before winter. Poor drainage causes roughly half of winter roof failures, but the fix is often inexpensive if addressed promptly.
Signs of Flat Roof Failure You Cannot Ignore
Spotting early warning signs can save thousands in repair costs. Look for these indicators:
- Blistering or bubbling on the roof surface, especially after freeze-thaw cycles
- Hairline cracks running across the membrane, visible in daylight
- Soft or spongy spots when you walk on the roof (sign of insulation saturation)
- Visible seams separating where roof sections join together
- Discolouration or staining on interior ceilings, walls, or in loft spaces
- Mould or mildew growth in attic areas or upper rooms
- Water marks on walls below the roof line
- Sagging or uneven roof surface
Interior damp patches and mould indicate active water penetration. Small leaks become major failures within weeks, water saturates structural timber and insulation, spreading damage invisibly.
Material-Specific Winter Vulnerabilities
Felt roofing and bituminous systems become brittle below 5°C and lose flexibility. Felt absorbs moisture (20-30 percent cellulose fibre) and holds it for weeks. Trapped water freezes, creating ice lenses that accelerate delamination. Bituminous roofs often fail silently, internal cracks appear before surface blistering, and water penetrates insulation before you notice damage.
EPDM rubber roofing remains flexible to −40°C but is vulnerable at seams and penetrations. Differential thermal expansion between rubber and metal/plastic components creates gaps at flashing joints. UV degradation accelerates with age, making 10-year-old EPDM roofs significantly more vulnerable than new ones.
GRP (glass-reinforced plastic) is rigid and durable in freeze-thaw cycles but vulnerable to impact and stress cracking from snow load. If the underlying structure moves, GRP cracks suddenly. The gel coat surface can blister if moisture becomes trapped, accelerated by winter temperature swings.
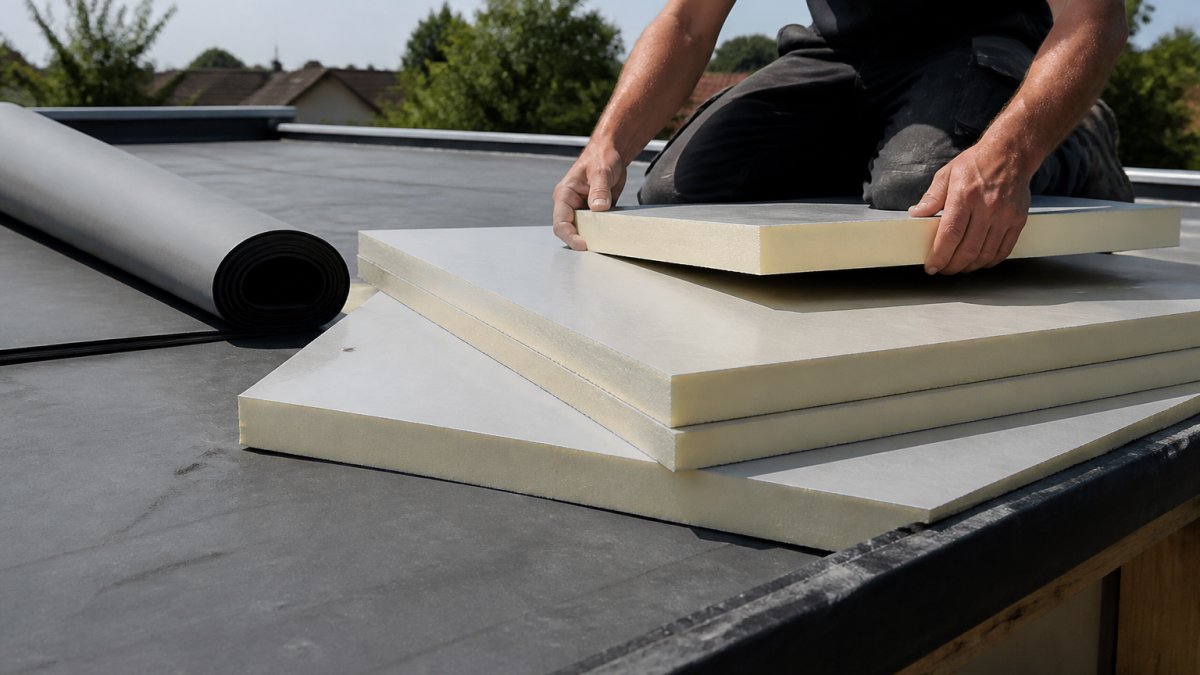
Insulation saturation is the hidden failure mechanism across all material types. Saturated insulation loses 50-80 percent of its R-value, promotes mould growth, and causes timber decay. Once wet, it stays wet through winter. Small leaks are dangerous because insulation absorbs water invisibly for weeks before damage becomes visible.
Cap sheet systems add a protective layer on top of the base membrane, typically using a more durable material like modified bitumen or elastomeric coating. This extra layer provides UV protection and additional waterproofing redundancy. However, cap sheets don't eliminate winter risk, they only delay it.
Flat Roof Maintenance Tips for Winter Protection
Not all maintenance tasks are equal. Some inspections you can perform safely from the ground. Others require professional access and equipment. Knowing the difference protects both your safety and your warranty.
What you can do from ground level (safe, warranty-neutral):
- Clear gutters and downpipes from the ground using a ladder against the wall, not on the roof itself. Look for leaves, moss, and debris blocking water flow. Run water from a hose to test drainage, watch where it flows. Does water pool anywhere along the gutter line? Does it reach the downpipe? If water backs up or pools, you've found a drainage problem that needs professional attention.
- Inspect the roof surface visually from the ground using binoculars. Look for obvious blistering, visible cracks, or areas where the membrane appears lifted or separated. Take photographs. These observations help a surveyor understand the problem before they visit.
- Check interior spaces regularly, attic, loft, upper-floor ceilings, and walls. Water marks, damp patches, mould growth, or musty smells indicate active leaks. Document these with photos and note when you first noticed them. This timeline is valuable diagnostic information.
- Monitor weather patterns and your roof's response. After heavy rain or snow melt, check interior spaces for new water marks. After freeze-thaw cycles, look for fresh blistering or cracks visible from ground level. Seasonal patterns help predict when professional inspection is urgent.
- Trim tree branches overhanging the roof. Branches drop leaves and twigs that block drainage. Branches also scrape the membrane in wind. You can do this safely from the ground or a ladder against a tree.
What requires professional access (do not attempt yourself):
- Walking on the roof to inspect seams, penetrations, or insulation condition. This is where most homeowners cause problems. Flat roofs are not designed for foot traffic. You can puncture the membrane, compress insulation unevenly, or slip on ice and fall. More importantly, many roof warranties explicitly void coverage if the membrane is walked on by unauthorised persons. Professional roofers carry insurance and use proper safety equipment. They know where it's safe to step and where the membrane is weak.
- Applying sealant or patching cracks yourself. This seems straightforward but rarely works. Roofing membranes require specific primers, adhesives, and sealants matched to the material type. Using the wrong product creates a weak bond that fails within weeks. Water finds the edge of your patch and migrates beneath it. You've now created a larger problem and potentially voided any remaining warranty. A professional repair uses the correct materials and application technique. It's backed by warranty.
- Clearing snow or ice from the roof. Snow load puts weight on the structure. More critically, melting snow creates pooling water. Using a roof rake from the ground is acceptable if snow is light. But if ice has formed or snow is heavy, you need professional snow removal. They have equipment to remove snow safely without damaging the membrane. They also understand when snow load is a structural concern requiring immediate attention.
- Inspecting or repairing flashing around penetrations. Pipes, vents, and skylights puncture the membrane. Flashing, the metal or plastic collar around these penetrations, is the most common leak source. Flashing requires precise installation and sealing. If it's loose or damaged, water leaks around it constantly. This is not a DIY fix. Improper flashing repair leads to hidden water damage in insulation and structural timber.
- Assessing insulation condition. You cannot safely determine if insulation is saturated without removing the membrane or accessing the roof cavity. Soft or spongy spots you feel from inside (through a ceiling) indicate saturation, but the full extent is invisible. A professional survey with thermal imaging can identify wet insulation without invasive inspection.
When to call a professional immediately:
- Active water leaks inside the building, even if minor
- Visible cracks, splits, or seams separating
- Blistering or bubbling on the roof surface
- Soft insulation or sagging roof structure
- Gutters or downpipes frozen or blocked
- Roof age over 15 years (material degradation accelerates)
- Any previous roof repairs or patches (these are failure points in winter)
Understanding warranty implications:
When to Call a Professional: Understanding Flat Roof Repair Cost
Some problems you can handle yourself. Others need professional expertise.
Call a roofer immediately if you notice:
- Active water leaks inside the building
- Large cracks or splits in the membrane
- Seams separating visibly
- Significant blistering or damage
- Soft or spongy insulation
- Structural sagging
The cost of professional repair depends on several factors:
- Roof size, larger roofs cost more to repair
- Damage extent, small cracks cost less than widespread failure
- Material type, some materials are more expensive to fix
- Access difficulty, hard-to-reach roofs take longer
- Urgency, emergency winter repairs may cost more
Frequently Asked Questions
What causes flat roofs to leak more in winter than other seasons?
Winter creates a perfect storm for flat roof leaks. Freeze-thaw cycles cause bituminous membranes and rubber roofing to contract and expand repeatedly, opening hairline cracks and joint failures. Standing water freezes and thaws, forcing water deeper into the roof structure. Snow load adds weight that stresses seams and flashing. Additionally, sub-zero temperatures make materials brittle and more prone to splitting. These combined factors mean winter leaks are more common and harder to detect until significant damage has occurred.
How can I tell if my flat roof is failing before winter arrives?
Look for these signs of flat roof failure before cold weather hits: visible blistering on the membrane surface, cracks or splits in the material, ponding water that doesn't drain within 48 hours, soft or spongy areas indicating insulation saturation, mould or mildew growth (a sign of moisture ingress), damaged flashing around roof penetrations, or interior dampness and water stains on ceilings. Early detection allows you to address these issues before winter worsens them. Professional inspection is the most reliable way to catch problems before they become emergencies.
Does EPDM rubber roofing really perform better in winter conditions?
EPDM rubber roofing has genuine advantages in winter. Unlike bituminous membranes, rubber maintains flexibility at sub-zero temperatures, reducing the risk of hairline cracks from thermal expansion. It resists UV degradation better, which matters because winter sun reflecting off snow can accelerate damage. EPDM also handles moisture ingress more effectively because it doesn't absorb water like felt roofing does. However, EPDM still requires proper drainage and maintenance, no material eliminates winter risks entirely. The key difference is that EPDM gives you more margin for error if drainage becomes temporarily blocked by ice or debris.
What flat roof maintenance tips prevent winter leaks?
Start before winter arrives: clear gutters and drainage channels of leaves and debris so water can flow freely. Inspect flashing around penetrations and repair any gaps. Remove standing water (ponding) using a roof pump if it doesn't drain naturally. In winter, clear snow and ice buildup to reduce snow load stress on seams and joints. Keep gutters clear of ice dams that force water back onto the roof. Schedule professional inspections in autumn to catch blistering, cracks, or insulation saturation before freeze-thaw cycles accelerate damage. These steps significantly reduce emergency repairs.