 how-to
How to Prevent Flat Roof Leaks After Repair
Table of Contents
- Why Flat Roof Leaks Return After Repair
- What You'll Need Before You Start
- Step 1: Inspect the Repair and Confirm It Has Cured
- Step 2: Clear Gutters and Fix Flat Roof Drainage Problems
- Step 3: Watch for Signs of Flat Roof Failure
- Step 4: Follow a Flat Roof Maintenance Schedule
- Step 5: Know When to Call a Professional
- Frequently Asked Questions
Last Updated: October 2, 2026
Why Flat Roof Leaks Return After Repair
This guide from ARRC Ltd walks through a five-step plan to prevent flat roof leaks after repair.
Flat roof leaks are water entering through a breach in the roof covering, a failed joint, or a blocked drainage path. Left alone, that water soaks insulation, rots decking, and damages ceilings below.
A common mistake is assuming a repair is finished the moment the leak stops.
What You'll Need Before You Start
Getting the right kit together first saves a second trip up the ladder. Most of it is inexpensive and lasts for years.
- Sturdy ladder and roof ladder hook
- Soft-bristle broom and a plastic scoop
- Bucket for debris
- Gloves and non-slip footwear
- Torch for checking dark corners
- Notebook or phone for photos and dates
- Sealant or roof coating matched to your roof material
Check the weather before you climb up. Dry, still days are safest. Never walk on a flat roof alone, and never step onto a wet membrane.
Keep a simple record of every inspection. Date it, note what you found, and photograph anything that looks off. This log becomes your evidence if you ever need to claim on a guarantee.
Step 1: Inspect the Repair and Confirm It Has Cured
Wait until the repair has fully cured before you inspect or walk on it.
Walk the roof in daylight and check the repaired area first. Look for bubbles, lifted edges, or soft spots. Press gently with a clean hand, not a tool.
Then check the wider roof. Water travels. A leak that shows up in one corner often starts several metres away.
Why Curing Matters More Than Most Guides Admit
A repair is not finished when the leak stops, it is finished when the material reaches full bond strength. Until then, the patch is soft, solvent-rich, and vulnerable to foot traffic, rain, and thermal movement.
Three things happen during curing:
- Solvent or water evaporates from the adhesive or coating, which is what allows the bond to set.
- Cross-linking develops in rubber and coating products, building the elasticity that lets the membrane move with the roof.
- The surface skins over, which is what protects the repair from UV and rain.
Walking on the repair, applying a second coating, or letting rain hit it before the skin forms interrupts these stages. The result is a patch that looks fine for weeks, then lifts at the edges.
Post-Repair Curing Timelines by Material
Curing time depends on the material, ambient temperature, and humidity. Cold, damp conditions slow everything down, sometimes by double.
| Material | Typical Cure Time | Key Mechanism | Notes |
|---|---|---|---|
| EPDM rubber | 24-48 hours | Solvent evaporation and contact bond | Avoid foot traffic until fully bonded; seams are the weak point |
| GRP fibreglass | 1-4 hours (touch dry), 24 hours (full) | Catalysed resin cross-linking | Cure is temperature-sensitive; below 5°C the resin may not set properly |
| Bitumen / felt | 24 hours | Cooling and adhesion to substrate | Blow-lamp work needs a dry day; hot works carry fire risk |
| Liquid roof coating | 12-24 hours | Water or solvent evaporation, then skin formation | Needs dry weather to skin over; a second coat should wait until the first is fully dry |
| Roof cement / mastic | 24 hours | Solvent evaporation | Sets faster in warm conditions; can skin over before the bulk has cured |
These are general guides. Always follow the manufacturer's instructions, and allow longer in cold or damp weather, add 50% to the cure time for every 5°C below 15°C.
What Happens If You Coat or Seal Too Soon
A common mistake is applying a protective coating over a fresh repair the same day. This traps solvent or moisture underneath, which blisters in the sun. The coating fails, the repair fails, and the leak returns, often worse, because a sealed pocket of water now sits on the membrane.
The safe sequence is:
- Let the repair cure fully.
- Inspect it for bond and finish.
- Only then apply any secondary sealant or coating.
Keep a simple record of every inspection: date it, note what you found, and photograph anything that looks off. This log is your evidence for a guarantee claim, and the first thing a manufacturer will ask for if a product fails.
Step 2: Clear Gutters and Fix Flat Roof Drainage Problems
Most repeat leaks are drainage problems in disguise. Water that can't leave the roof will find a way in, no matter how good the repair was.
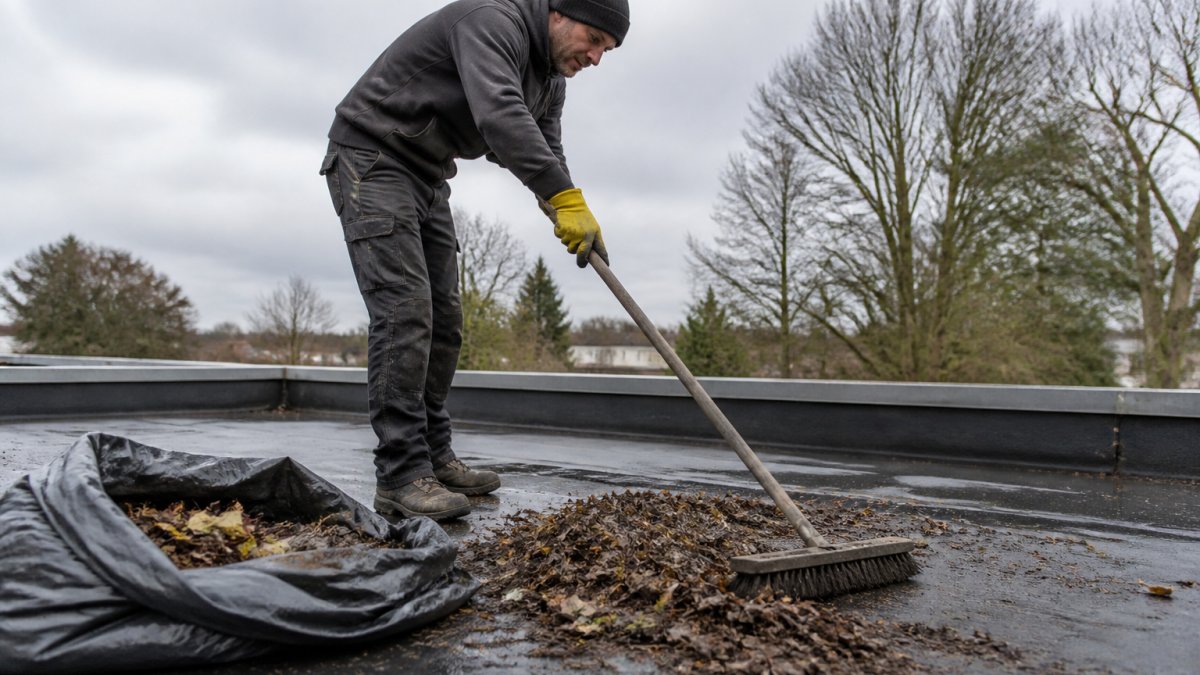
Start with the gutters. Scoop out leaves, moss, and grit by hand or with a plastic scoop. Then check every drainage outlet on the roof itself.
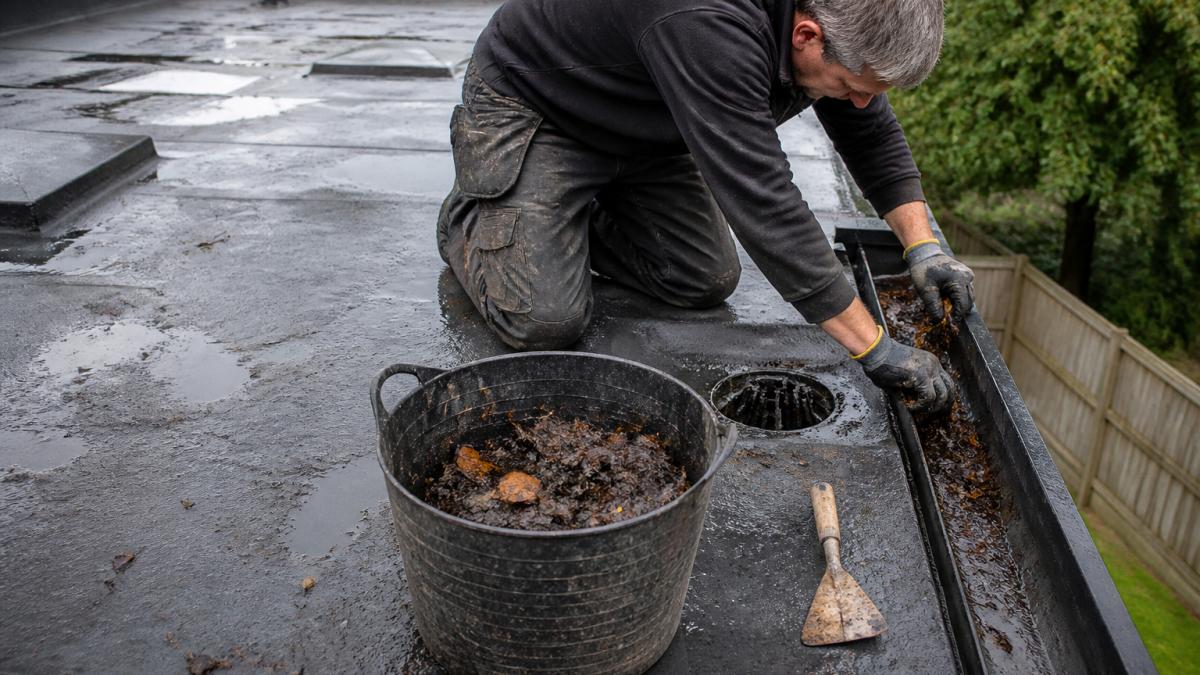
Checking Outlets, Fall, and Ponding Water
Pour a bucket of water near each outlet and watch how it moves. It should run away quickly. If it sits, you have a problem.
Check for these common drainage faults:
- Blocked outlets: debris or a dropped tool stopping flow
- Ponding water: standing water more than 48 hours after rain
- Poor fall: the roof pitch no longer directs water to the outlet
- Damaged outlets: cracked or loose surrounds letting water under the membrane
Ponding water is the biggest warning sign: it adds weight, speeds up UV degradation, and works into seams. If water sits for days, the pitch or drainage needs attention, not just a patch.
Step 3: Watch for Signs of Flat Roof Failure
Catching failure early is far cheaper than replacing a roof. Check these signs every few months.
- Blisters or bubbles in the membrane
- Cracks, splits, or seam failure
- Lifted or cracked flashings at edges and upstands
- Water stains on ceilings or walls below
- Damp patches around skylights or vents
- Moss or algae growth holding moisture on the surface
Inside the building, look for new stains after heavy rain. A brown ring on a ceiling is often the first clue that water ingress has started again.
If you spot any of these, act quickly. Small issues stay small only if you deal with them fast.
Step 4: Follow a Flat Roof Maintenance Schedule
A flat roof maintenance schedule is a set of regular checks that keep the roof watertight and catch small faults before they spread. Two inspections a year, plus a quick look after storms, covers most roofs.
But a schedule that treats every flat roof the same is only half useful. EPDM, GRP, and bitumen/felt fail in different ways, at different times of year, and for different reasons.
Material-Specific Failure Points
Understanding how each material fails tells you what to look for and when.
- EPDM rubber: The membrane itself is highly UV- and weather-resistant. The weak points are the seams and the flashings. Seam failure usually shows as a lifted edge or a dark line where the adhesive has released. Flashings at upstands and edges can pull away as the building moves thermally.
- GRP fibreglass: The membrane is rigid and long-lasting, but it can crack at stress points, corners, outlets, and where the roof meets a wall. Osmosis blisters can form if the resin was mixed incorrectly or if water has been trapped under the surface. GRP also becomes brittle over decades and can craze under UV.
- Bitumen / felt: This is the most maintenance-hungry material. Felt dries out, shrinks, and cracks as it ages. Blisters form where the felt has lost adhesion to the substrate. UV degradation is faster on south-facing slopes. Felt roofs typically need coating or sealing more often than rubber or GRP.
- Liquid coatings: These wear thin over time, especially in high-traffic areas and around outlets. They need reapplication when the surface starts to chalk or when the colour fades unevenly.
Seasonal Checklist for Flat Roofs
Use this as a base, then adjust for your material.
- Spring: Clear winter debris, check for storm damage, inspect flashings. On felt roofs, check for winter cracking and blistering. On EPDM, check seams and upstand flashings.
- Summer: Check for UV cracking, blisters, and coating wear. On GRP, look for crazing and stress cracks at corners and outlets. On coatings, check for chalking and thin spots.
- Autumn: Clear leaves and moss before the wet season, test drainage. This is the most important check of the year, blocked outlets in autumn cause most winter leaks.
- Winter: Check for ponding water and ice damage after storms. Avoid walking on frozen membranes, which can crack. On felt, check for freeze-thaw damage at seams.
- After any storm: Look for lifted edges, debris, and new leaks. Photograph anything that looks off.
A Calendar-Based Approach
For a simple rule, work backwards from the two highest-risk periods: the wet season (October to March) and the UV peak (June to August).
- Late September: Full inspection and clearance before the wet season. This is non-negotiable.
- Late March: Post-winter inspection to catch damage before summer heat expands it.
- Mid-summer: Quick check for UV-related wear, especially on felt and coatings.
- After every named storm: Visual check from ground level, then a roof check if anything looks wrong.
Match the check to the material. Felt roofs need more frequent coating and sealing. Rubber membranes need seam and flashing checks. GRP needs stress-point checks. Coatings need reapplication when they wear thin.
What to Record
Keep a simple log for each inspection:
- Date and weather conditions
- Areas checked and what you found
- Photos of anything that looks off
- Any action taken, and by whom
- Product names and batch numbers for any coatings or sealants used
This log is your evidence for a guarantee claim, and it shows which parts of the roof fail repeatedly, a sign the underlying problem (drainage, pitch, or movement) has not been fixed.
Step 5: Know When to Call a Professional
Some jobs are safe to handle yourself. Others need a qualified roofer, and guessing wrong can void your guarantee.
Call a professional if you see any of these:
- Water still entering after two repair attempts
- Ponding water that won't clear
- Soft or spongy decking underfoot
- Damage across a large area of the roof
- Any work at height you're not confident doing safely
- Seam failure on a rubber membrane
Flat roofs are unforgiving. A wrong repair can trap moisture and cause more damage than the original leak. If your roof is over a certain size, or you're not sure what you're looking at, get it checked.
At ARRC Ltd, we specialise in EPDM rubber roofing and back our flat rubber roofs with a 20-year guarantee.
For safety guidance on working at height, see the HSE guidance on safe roof work.
Frequently Asked Questions
How often should a flat roof be inspected after repairs?
Check the repaired area within two weeks of the work, then again after the first heavy rain. After that, inspect at least twice a year, ideally in spring and autumn, plus after any storm. Regular checks catch small issues like lifted flashing or blocked outlets before they turn into water ingress. If your flat roof leaks returned after a previous repair, shorter intervals of three to four months are sensible until you are confident the fix has held.
Where do flat roofs leak most?
Leaks cluster around joints and edges: seams in felt roofing, flashing at abutments and upstands, drainage outlets, and anywhere the roof meets a wall or parapet. Ponding water sitting near an outlet speeds up UV degradation and seam failure, so low spots are common trouble areas. On older roofs, thermal movement opens gaps at the perimeter first. Checking these points during your maintenance schedule catches most problems early.
What can I apply to a flat roof to stop it leaking again?
The right product depends on the existing surface. On felt roofing, a compatible roof coating or roof sealer over a primed surface can extend life, but it will not fix a structural fault. For EPDM rubber, patches and seam tapes designed for the membrane work best. Never mix systems without checking compatibility, because the wrong primer or sealant can cause the repair to lift. If ponding water is the root cause, fix the drainage first.
Is a flat roof leak covered by home insurance?
Buildings insurance usually covers sudden damage, such as a storm lifting flashing or a fallen branch puncturing the membrane. It rarely covers gradual deterioration, poor workmanship, or long-term water ingress from a neglected roof. Keep records of repairs, inspections, and any guarantee, as insurers often ask for evidence of maintenance. If your policy includes accidental damage, check the wording before assuming a leak qualifies.
A repaired flat roof only stays watertight if you maintain it. Water, debris, and time will find every weak point, and the roofers who fix leaks properly are the ones who plan for what happens next. ARRC Ltd installs durable EPDM rubber roofing with a 20-year guarantee, handles fascias, soffits, and guttering in the same visit, and brings over 30 years of experience to every job. Get a quote from ARRC Ltd and keep your flat roof dry for good.