 how-to
EPDM Roofing Installation Time: A Complete Estimate Guide
Table of Contents
- How Long Does EPDM Roofing Installation Take?
- Factors Affecting Flat Roof Installation Time
- EPDM Installation Weather Requirements and Delays
- Step-by-Step Installation Overview and Timeline
- DIY vs Professional EPDM Installation: Time and Complexity
- Tools, Equipment, and Material Calculation
- Common Installation Mistakes That Extend Project Duration
- Cost Estimation and Budget Planning
- Frequently Asked Questions
Last Updated: September 1, 2026
How Long Does EPDM Roofing Installation Take?
EPDM roofing installation time estimate varies depending on roof size, substrate condition, weather, and whether you hire professionals or attempt DIY. For most residential flat roofs, professional installation typically takes 2 to 5 days (nrca.net). Smaller projects under 50 square metres may be completed in one day, whilst larger commercial installations can stretch to 2 weeks or more.
At ARRC Ltd, we've completed many flat roof installations across residential and commercial properties. The timeline involves proper substrate preparation, adhesive curing, weather windows, and final quality checks. Rush the process and you risk pooling water, seam separation, and premature membrane failure. Done correctly, you have a durable, weatherproof roof backed by a 20-year guarantee.
Factors Affecting Flat Roof Installation Time
Roof size is the most obvious factor: a 30-square-metre garage roof takes far less time than a 300-square-metre warehouse. But substrate condition often matters more than square meterage.
If your existing roof deck is sound, clean, and flat, installation moves quickly. If the deck is uneven, has old bitumen buildup, damaged timber, or structural issues, preparation can add days to the project. A thorough site survey before quoting is essential.
Roof complexity also extends timelines. Simple rectangular roofs with minimal penetrations are straightforward. Roofs with multiple levels, complex edge detailing, upstands around chimneys, or numerous flashing points require more labour. Each penetration needs careful sealing to prevent future leaks.
Access and site conditions matter too. A ground-level garage roof is far quicker than working three storeys up with limited scaffolding access.
| Factor | Impact on Timeline | Typical Effect |
|---|---|---|
| Roof size (per 50 sq m) | Direct | +1 day per 50 sq m |
| Substrate condition | High | +1-3 days if poor |
| Roof complexity | Moderate | +1-2 days if complex |
| Weather conditions | Critical | Can halt work entirely |
| Access and site setup | Moderate | +0.5-1 day if difficult |
| Adhesive curing requirements | Fixed | +24 hours minimum |
EPDM Installation Weather Requirements and Delays
Weather is the single biggest wildcard in EPDM roofing installation time estimates. Contact adhesive requires dry conditions to cure properly. Rain during application or immediately after sealing seams will compromise the bond and cause premature failure.
Temperature also matters: most adhesives perform best between 10°C and 25°C. Installation in freezing conditions is not recommended, and excessive heat above 30°C can cause adhesive to cure too quickly, creating weak seams. High humidity slows adhesive hardening, extending the project timeline.
Wind presents another challenge. Strong winds can delay work on elevated roofs due to safety concerns and the risk of membrane sections catching wind during installation.
Winter projects are particularly problematic. Short daylight hours mean less working time per day. Cold temperatures slow adhesive curing dramatically. A five-day summer job might take two weeks in winter. Many contractors schedule EPDM installations between April and October to avoid weather-related delays.
Professional teams build weather contingency into project timelines. A quoted five-day installation typically assumes one or two weather delay days. Factor in at least one additional week beyond the quoted duration as a realistic buffer, especially for large roofs or exposed locations.
Step-by-Step Installation Overview and Timeline
A professional EPDM installation follows a logical sequence. Understanding each phase explains why the process takes as long as it does.
Roof Deck Preparation
Before any membrane touches your roof, the substrate must be properly prepared. This phase often takes longer than homeowners expect.
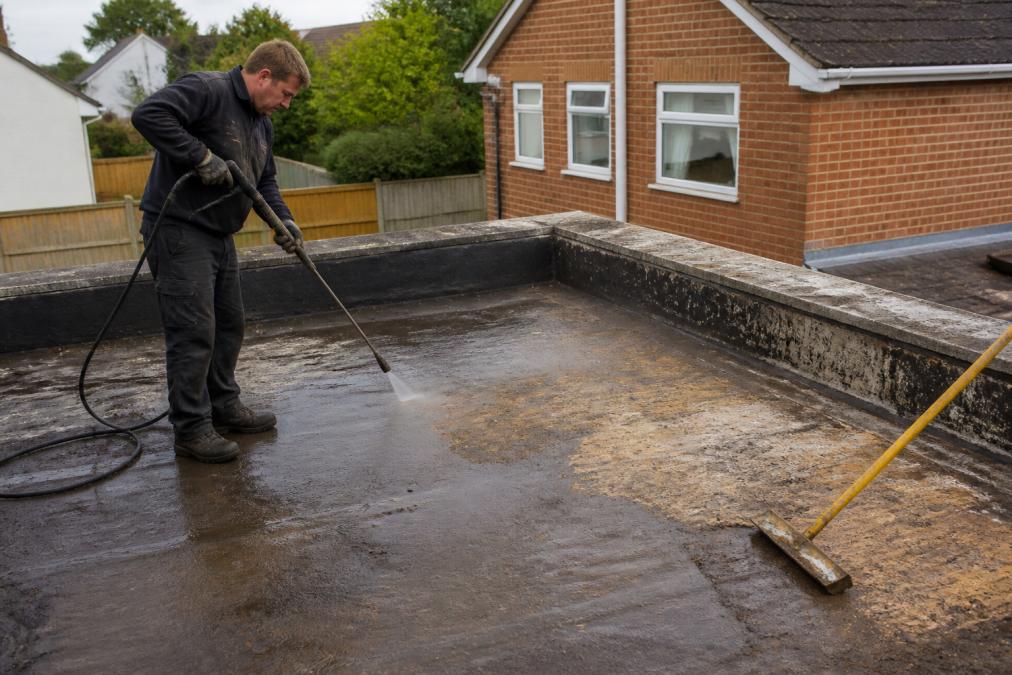
The first step is thorough cleaning. Old bitumen, moss, dirt, and debris must be removed. For roofs with existing felt or asphalt, this might mean grinding or scarifying the surface. A 100-square-metre roof can take a full day just for cleaning (nrca.net). Smaller roofs, 30-50 square metres, typically need 4-6 hours.
Once clean, the deck is inspected for damage. Soft timber, rotting joists, or structural movement must be repaired before membrane installation. The deck is then levelled where necessary. EPDM performs best on flat surfaces. Any existing flashing or edge details are assessed and prepared.
Preparation timeline:
- Small roof (30-50 sq m): 1 day
- Medium roof (50-100 sq m): 1-2 days
- Large roof (100+ sq m): 2-3 days
Membrane Installation and Sealing
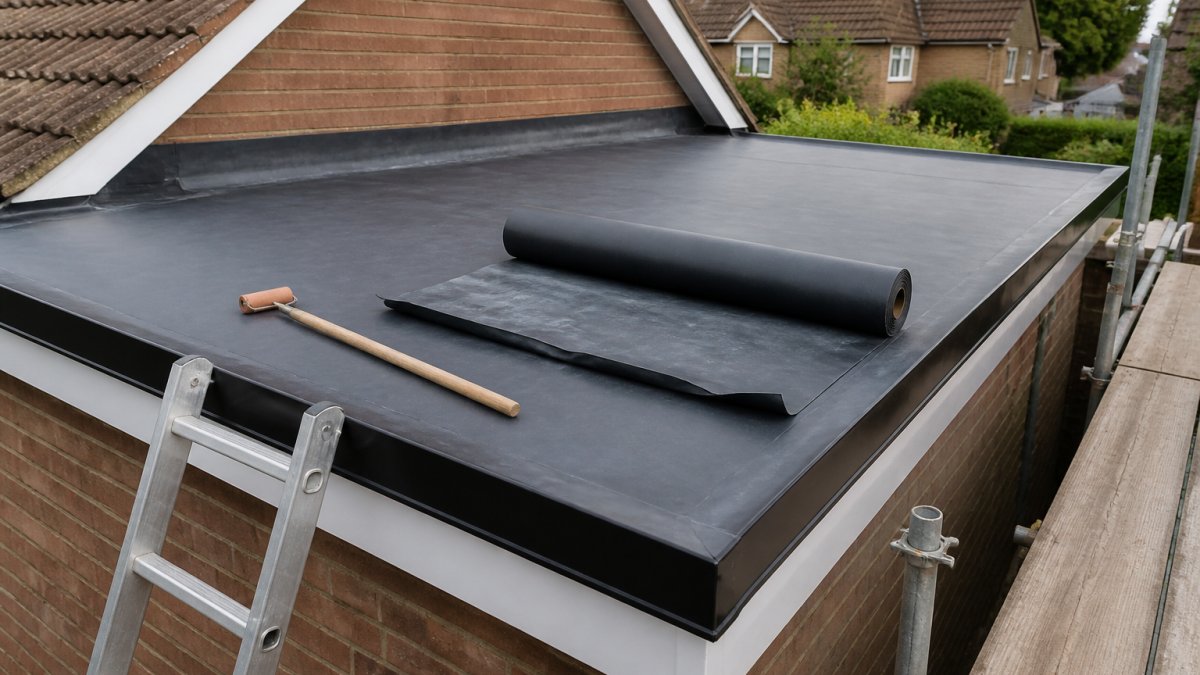
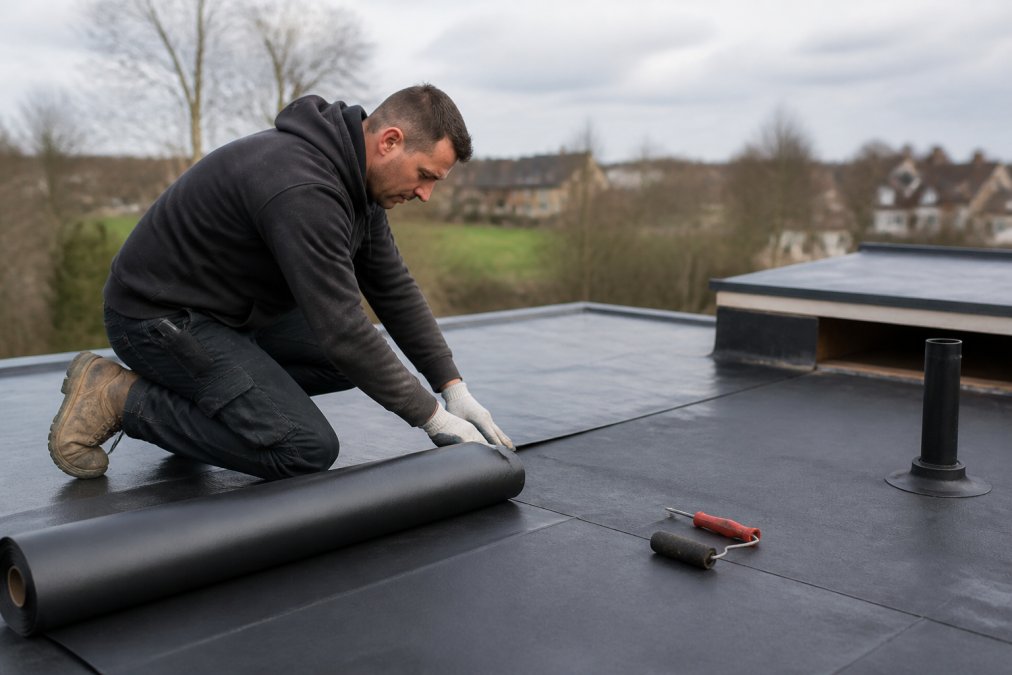
Once the deck is ready, the EPDM membrane is laid out. The membrane is unrolled, positioned correctly, and adhered to the substrate using contact adhesive.
The membrane is typically laid from one edge, working systematically across the roof. As it's positioned, adhesive is applied to the deck beneath. The membrane is then rolled down firmly to ensure full contact and eliminate air pockets. Seams between sheets are overlapped by 75-100mm and sealed with contact adhesive and specialist seam tape.
Each seam requires careful attention. The tape is pressed firmly and rolled to ensure a watertight bond. Penetrations (vents, pipes, skylights) require individual flashing details. Each one is sealed with adhesive and tape. Edge detailing around the perimeter is critical to prevent water running off the sides.
Membrane installation timeline:
- Small roof (30-50 sq m): 1 day
- Medium roof (50-100 sq m): 1-2 days
- Large roof (100+ sq m): 2-3 days
Adhesive Curing and Final Checks
Contact adhesive requires 24 hours of dry conditions to cure fully (nrca.net). During this time, the roof cannot be walked on, and no additional work should be done on the membrane.
Once curing is complete, the installation is inspected. All seams are checked for proper adhesion. Penetrations are tested for watertight sealing. The perimeter edge is verified for secure attachment. Any areas showing poor adhesion are re-worked.
Water testing (flooding the roof with water to check for leaks) is sometimes performed on commercial installations or complex roofs. This adds an additional day but provides absolute confirmation that the roof is watertight. Protective surfacing, if required, adds 1-2 days.
Curing and finishing timeline:
- Adhesive curing: 1 day (non-negotiable)
- Inspection and testing: 0.5-1 day
- Protective coating (if required): 1-2 days
DIY vs Professional EPDM Installation: Time and Complexity
A DIY installation on a 50-square-metre roof typically takes 5-7 days of full-time work for someone with roofing experience. Without experience, add another 3-5 days. Mistakes are costly: a poorly sealed seam can be expensive to repair once the roof is complete.
Professional installers complete the same roof in 2-3 days. They work efficiently because they've done it many times. They have the right tools, understand how weather affects curing, and carry insurance and guarantees.
The time comparison becomes even more stark on larger roofs. A 200-square-metre commercial roof takes a professional team 5-7 days. A DIY attempt would stretch to 3-4 weeks, assuming no major mistakes force rework.
Beyond raw time, consider the physical demands. Roofing work is labour-intensive and often uncomfortable. Professional teams are conditioned for this work. Most homeowners find it exhausting after a few hours.
The real question isn't whether you can do it yourself. It's whether the time savings justify the risk of a failed installation that might leak within a year. At ARRC Ltd, we've repaired many roofs that failed because seams weren't properly sealed or the substrate wasn't adequately prepared. The repair cost can often exceed what professional installation would have cost originally.
Tools, Equipment, and Material Calculation
Proper installation requires specific tools and materials.
Essential tools:
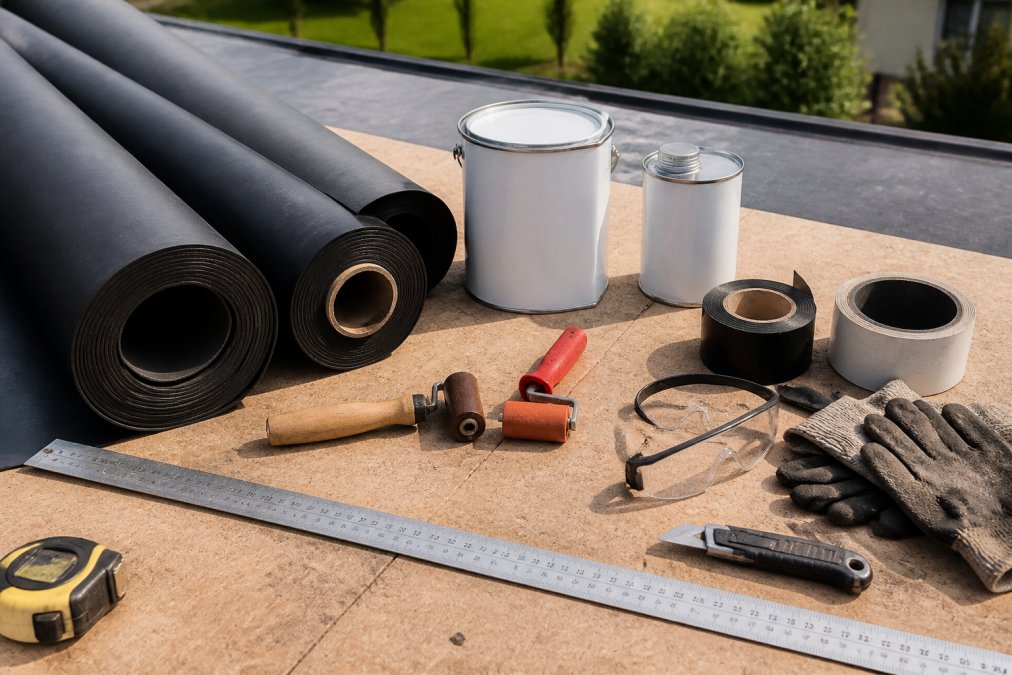
- Contact adhesive application equipment (roller or spray)
- Seam roller (hand-held tool for pressing seams firmly)
- Utility knife and cutting guide for trimming membrane
- Measuring tape and marking chalk
- Safety equipment (harnesses, fall protection if working at height)
- Cleaning equipment (pressure washer or stiff brushes)
- Scaffolding or access equipment for elevated roofs
Materials:
- EPDM membrane (typically 1.14mm or 1.52mm thickness)
- Contact adhesive (specified for EPDM application)
- Seam tape (specialist product designed for EPDM sealing)
- Flashing details and edge trim
- Protective coating (optional, for reflective finish)
Material calculation: A 50-square-metre roof requires approximately 55-60 square metres of membrane (accounting for overlap and edge allowance). For a typical residential installation:
- 50 sq m roof: 60 sq m membrane, 15-20 litres adhesive, 10-15 metres seam tape
- 100 sq m roof: 115 sq m membrane, 30-40 litres adhesive, 20-30 metres seam tape
- 200 sq m roof: 230 sq m membrane, 60-80 litres adhesive, 40-60 metres seam tape
Ordering 10-15% extra material is wise to account for cutting waste and potential rework.
Common Installation Mistakes That Extend Project Duration
Inadequate substrate preparation is the most common error. Rushing this phase to save time always backfires. Dirt, debris, or old bitumen on the deck prevents proper adhesive bonding. Seams can separate within months, and the entire roof may need to be stripped and redone.
Improper adhesive application causes weak seams and adhesion failures. The adhesive must be applied consistently and allowed to reach tack before the membrane is pressed down.
Sealing seams inadequately is another frequent problem. Seams must overlap properly and be sealed with both adhesive and tape. Rushing this work creates weak points that leak.
Working in unsuitable weather causes adhesive curing failures. Rain during application or within 24 hours after sealing compromises the bond.
Ignoring flashing details leads to leaks at penetrations and edges. Vents, pipes, and skylights each need careful flashing work.
Failing to inspect and test means problems aren't caught until after the roof is complete. Professional teams inspect every seam and test for leaks before considering the job finished.
Cost Estimation and Budget Planning
Installation time directly affects labour costs. Professional installation labour rates vary by region and contractor experience. Pricing depends on the specific project, including roof size, substrate condition, and complexity.
When comparing quotes, ensure they include all phases: preparation, installation, curing time, and inspection. A suspiciously low quote often reflects corners being cut, inadequate preparation, rushed adhesive application, or skipped quality checks. These shortcuts almost always result in premature failure and costly repairs.
Building in contingency is prudent. Unexpected substrate damage, weather delays, or additional flashing work discovered during installation can extend the project. A realistic timeline includes buffer time for these contingencies.
At ARRC Ltd, we provide detailed quotes that break down material and labour costs transparently. Our 20-year guarantee on EPDM installations reflects our confidence in proper installation technique and material quality. When you choose professional installation, you're not just paying for labour, you're paying for expertise, accountability, and long-term performance.
EPDM roofing installation is faster than many homeowners expect, but only when every phase is executed properly. A 2-5 day timeline for residential installations is realistic for professional teams, but only when substrate preparation is thorough, weather cooperates, and adhesive curing time is respected. Rushing any of these phases compromises the roof's durability and waterproofing performance.
If you're planning an EPDM installation, get a professional survey and detailed quote. Understand what factors affect your specific project's timeline. A roof installed correctly lasts 30+ years with minimal maintenance. One installed hastily or incorrectly becomes a source of frustration and expense within months.
Get a quote from ARRC Ltd and discover how professional EPDM installation delivers a durable, weatherproof roof backed by our 20-year guarantee. We handle everything from substrate preparation through final inspection, ensuring your flat roof performs reliably for decades.
Frequently Asked Questions
What factors affect how long EPDM roofing installation takes?
Installation duration depends on roof size, substrate condition, weather, and complexity. A small garage roof (20-30 square metres) typically takes 1-2 days, while larger commercial installations may require 3-5 days or more. Poor substrate preparation, existing damage, or difficult access can add significant time. Weather also plays a critical role, rain, frost, or high winds delay installation considerably, as EPDM adhesive requires specific temperature and humidity conditions to cure properly.
Can I install EPDM roofing myself, or should I hire a professional?
DIY installation is technically possible for small, simple roof areas, but professional installation is strongly recommended. Professional installers complete work more efficiently due to experience and equipment, and they guarantee proper seam sealing, adhesive application, and waterproofing. A DIY project on a small garage roof could take 5-7 days of labour, whereas professionals finish it in 1-2 days. Mistakes in lap sealant application or membrane bonding often lead to leaks within months, making professional installation a worthwhile investment.
Does weather affect EPDM roofing installation time?
Yes, significantly. EPDM adhesive requires temperatures between 5°C and 25°C and low humidity to cure properly. Rain prevents work entirely, as wet substrate compromises adhesive bonding. Frost or high winds also delay installation. Winter projects take considerably longer due to shorter daylight hours and frequent weather interruptions. Spring and autumn typically offer ideal conditions, allowing adhesive to cure within 24-48 hours. Summer heat can accelerate curing but may make working conditions difficult. Plan for 20-30% longer timelines during winter months.
What is the typical installation timeline for a residential flat roof?
A standard residential flat roof (garage, extension, or bay window) typically takes 1-3 days for professional installation, depending on size and substrate condition. Day one covers roof deck preparation, cleaning, and priming. Day two involves laying the waterproofing membrane, applying adhesive, and sealing seams. Day three includes edge trim installation and final quality checks. Adhesive curing continues for 24-48 hours after installation, during which the roof should not be walked on. Total project duration, including curing, is usually 3-5 days from start to full usability.
This article was written using GrandRanker