 how-to
How to Maintain Your Roof to Prevent Leaks
Table of Contents
- How to Maintain Your Roof to Prevent Leaks: A Practical Guide
- Establish a Roof Maintenance Checklist for Regular Upkeep
- How Often Should a Roof Be Inspected
- Step 1: Conduct a Visual Roof Inspection
- Step 2: Clear Gutters, Downpipes, and Roof Drains
- Step 3: Remove Moss, Algae, and Debris from Roof Surfaces
- Step 4: Check and Maintain Flashing Around Chimneys, Vents, and Skylights
- Signs of a Leaking Roof: Early Warning Indicators
- Your Maintenance Schedule at a Glance
- When to Call a Professional Roofer
- Frequently Asked Questions
Last Updated: October 17, 2026
How to Maintain Your Roof to Prevent Leaks: A Practical Guide
Roof leaks start small: a missing tile, blocked guttering, moss creeping across the surface.
Regular roof maintenance stops this before it happens. At ARRC Ltd, we've spent over 30 years helping property owners protect their roofs from leak damage.
This guide covers how to maintain your roof to prevent leaks: inspections, clearing drainage, removing debris, and recognising warning signs.
What makes maintenance different from repair
Maintenance stops problems before they start; repair fixes them after damage occurs. Maintenance is cheaper, faster, and keeps your roof doing its job for longer.
Establish a Roof Maintenance Checklist for Regular Upkeep
A good checklist becomes your roof's health record, tracking what you've done and what needs attention next. Without one, maintenance becomes random: you might inspect in spring but forget autumn, or miss the gutters entirely.
What to include in your checklist
Your checklist should cover these key areas:
- Visual inspection of roof surface - tiles, shingles, or flat roofing materials for cracks, missing pieces, or deterioration
- Gutter and downpipe clearing - remove leaves, debris, and any blockages that trap water
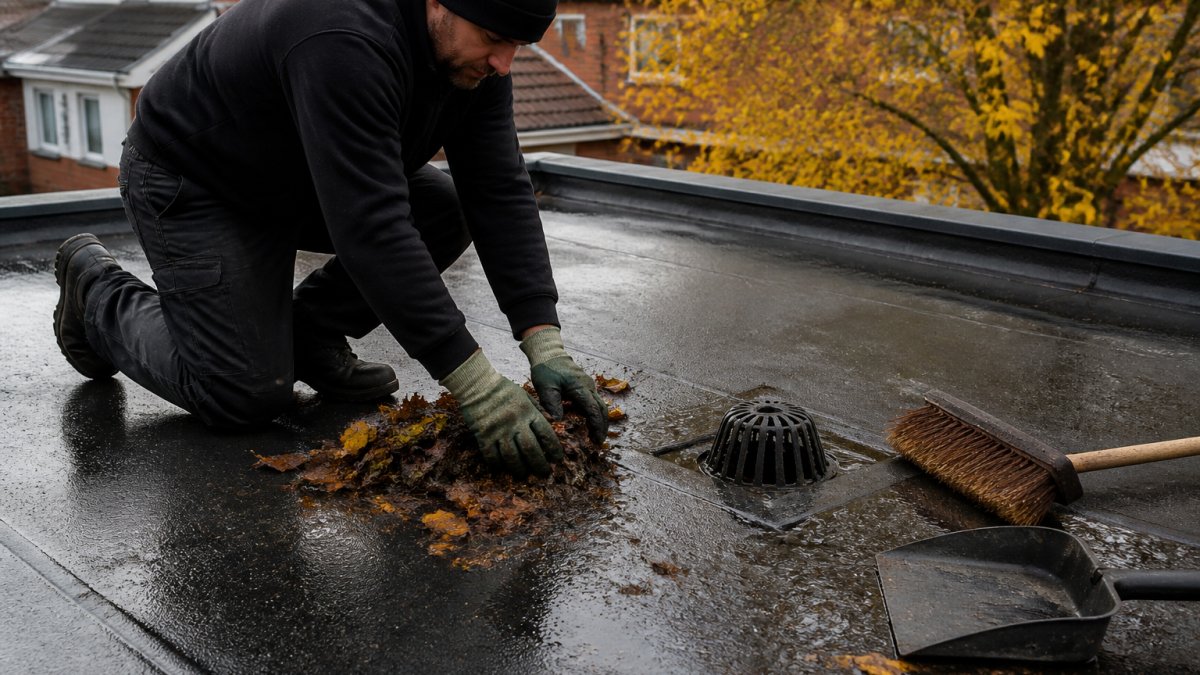
- Roof drain inspection - check that flat roof drains flow freely with no standing water
A simple spreadsheet or checklist template works well; you don't need software, just a record you can update.
Recording and tracking maintenance
Write down what you did and when, noting any issues, even small ones. This history shows a roofer what's been maintained and helps you spot patterns: if moss keeps returning to one area, there's usually a reason (poor drainage, shade, trapped moisture).
Keep records for at least five years. If you ever need to make an insurance claim, this documentation proves you've maintained the roof properly.
How Often Should a Roof Be Inspected
Inspection frequency depends on your roof's age, local weather, and recent events, but clear guidelines exist.
Seasonal inspection timing
Most property owners should inspect their roof at least twice a year:
- Spring inspection - after winter weather, check for damage from frost, ice, or storms
- Autumn inspection - before winter arrives, clear gutters and prepare drainage systems
- Additional checks - if you notice interior signs like ceiling stains or damp, inspect immediately
Older roofs (15+ years) benefit from three inspections per year. Newer roofs (under 10 years) can often manage with two, unless your area experiences severe weather regularly.
After severe weather events
Don't wait for your scheduled inspection after severe weather. High winds can lift tiles, hail can crack materials, and flooding can overwhelm drainage. Inspect within 48 hours of any significant event.
From the ground or a safe vantage point, look for:
- Visibly displaced or missing tiles
- Debris scattered across the roof surface
- Water pooling in unusual places
If you spot damage, contact a professional roofer immediately. Early repair prevents water from entering the structure.
Step 1: Conduct a Visual Roof Inspection
A visual inspection is your first line of defence: look for anything that could let water in or trap it on the surface. You don't need to climb onto the roof; most inspections can be done safely from the ground with binoculars or an upper-storey window.
Safe inspection practices
Safety comes first:
- Use binoculars from ground level - stand back from the building and scan the roof surface carefully
- Inspect from upper windows - if you have a second-storey room with a roof view, look from there
- Never climb onto a pitched roof alone - if you must access the roof, use proper fall protection and have someone with you

Flat roofs are safer to inspect: you can walk the surface in dry conditions, but wear appropriate footwear and watch for soft spots or areas where water pools.
What to look for during inspection
During your inspection, focus on these specific signs:
On the roof surface:
- Cracked tiles or shingles
- Missing roofing materials
- Curled or lifted edges
Around penetrations:
- Loose or separated flashing around chimneys, vents, or skylights
- Cracked sealant or caulking
- Rust stains (on metal flashing)
Drainage areas:
- Standing water on flat roofs
- Gutters clogged with leaves or debris
- Downpipes disconnected or blocked
Document what you see with photos; they become part of your maintenance record and help a roofer understand what needs attention.
Step 2: Clear Gutters, Downpipes, and Roof Drains
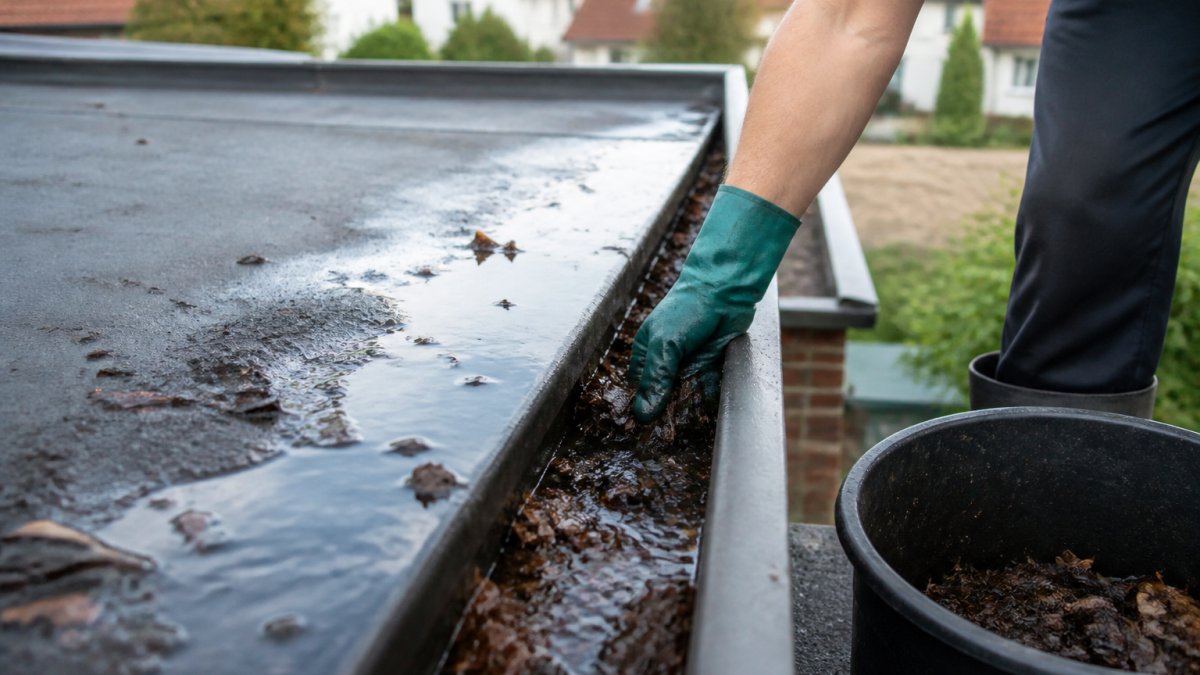
Blocked guttering is one of the most common causes of roof leaks. Water can't flow away, so it backs up, sits on the roof, and eventually finds its way inside. Clearing gutters is preventive maintenance at its most effective. Consistent attention to these drainage pathways remains essential for those who need to prevent commercial roof leaks.
Removing debris safely
Gutters collect leaves, twigs, dirt, and moss. Clear them safely:
- Use a sturdy ladder - place it on level ground and have someone stabilise it
- Wear gloves - gutters can contain sharp debris and bacteria
- Scoop debris into a bag - work from one end toward the downpipe, collecting material as you go
For flat roofs with internal drainage, clear roof drains of debris; a blocked drain causes standing water that accelerates deterioration.
Checking for blocked drainage
After clearing debris, test the drainage system:
- Pour water into the gutter - watch it flow toward and into the downpipe
- Check the downpipe outlet - water should exit freely at ground level or into a drain
- Look for water backing up - if water pools in the gutter after clearing, the downpipe is likely blocked further down
- Use a plumbing snake if needed - for stubborn blockages, a flexible drain snake can clear the pipe
If water still doesn't flow freely after clearing, the blockage is deeper in the system. This often requires professional drain cleaning or rodding. Contact a plumber or roofer to clear it.
Step 3: Remove Moss, Algae, and Debris from Roof Surfaces
Moss and algae trap moisture against roofing materials, promoting decay, weakening sealants, and creating conditions where leaks develop. Removing this growth is essential maintenance.
Moss grows in shaded areas where moisture lingers, especially north-facing sections and areas under trees.
Here's how to remove growth safely:
- Use a soft brush or broom - scrub gently to avoid damaging tiles or sealants
- Apply a moss-killing solution - diluted bleach or commercial roof cleaner can kill moss at the root
- Let it work - allow the solution to sit for the time recommended on the product label
- Rinse thoroughly - use a low-pressure spray (not a high-pressure washer, which can damage materials)
For persistent moss, repeat treatment every 12 months.
Never use a high-pressure washer on roof materials.
Step 4: Check and Maintain Flashing Around Chimneys, Vents, and Skylights
Flashing is the metal or rubber seal bridging the gap between the roof surface and any penetration (chimney, vent, skylight, dormer window).
Flashing fails when:
- Sealant cracks or separates
- Metal rusts or corrodes
- Seams come apart
- The flashing pulls away from the roof surface
During your inspection, look closely at all flashing. Here's what to check:
- Sealant condition - is the caulk or sealant cracked, dried out, or missing?
- Metal condition - any rust, corrosion, or discolouration?
- Seam integrity - are seams sealed properly or do you see gaps?
- Attachment - is the flashing firmly attached to the roof, or is it lifting?
For separated seams, rust, or major damage, contact a professional roofer. Flashing repair requires precision, a poorly sealed flashing will leak again quickly.
We install flashing carefully during any roofing work using high-quality materials, and we check it during maintenance visits because it's a critical failure point.
Signs of a Leaking Roof: Early Warning Indicators
Catching a leak early makes repair simple and cheap. Ignoring early signs leads to structural damage, mould, and expensive remediation. Learn to recognise these warning signs inside and outside your home.
Interior warning signs
These are the first signs most people notice:
- Ceiling stains - brown or yellow marks on ceilings or walls indicate water has entered the building
- Damp patches - soft, wet areas on ceilings or walls mean active water intrusion
- Peeling paint or wallpaper - moisture underneath causes decorative finishes to fail
- Musty odour - trapped moisture creates a distinctive smell, often before you see visible damage
Don't wait for staining before you act. If you smell damp or notice any of these signs, inspect the roof immediately; water damage spreads quickly.
Exterior warning signs
These are visible from outside and often appear before interior damage:
- Missing or displaced tiles - gaps in the roof surface let water in directly
- Cracked tiles or shingles - even small cracks allow water penetration
- Lifted flashing - edges of flashing pulling away from the roof surface
- Deteriorated sealant - cracked caulk around penetrations
If you spot any of these, inspect that area closely. Take photos and contact a roofer if the damage looks significant.
Your Maintenance Schedule at a Glance
| Task | Frequency | Season | Time Required |
|---|---|---|---|
| Visual inspection | 2x per year | Spring and autumn | 30 minutes |
| Clear gutters and downpipes | 2x per year | Spring and autumn | 1-2 hours |
| Check flashing condition | 2x per year | Spring and autumn | 20 minutes |
| Remove moss and algae | As needed | Typically spring | 1-3 hours |
| Interior inspection | 2x per year | Spring and autumn | 15 minutes |
| After severe weather | As needed | Following storms | 30 minutes |
When to Call a Professional Roofer
Some maintenance you can do yourself. Other issues need professional expertise. Call a roofer if you find:
- Cracked or missing tiles that need replacing
- Flashing that's separated or rusted
- Structural damage (sagging, soft spots)
- Active leaks with water inside the building
We offer repairs for residential and commercial properties. Our team can identify problems you might miss and fix them before they become expensive.
Roof maintenance isn't complicated, but it's essential. A few hours twice a year clearing gutters, checking flashing, and removing debris prevents most leaks.
Start with a maintenance checklist this month. Schedule your first inspection. Clear your gutters. Then make it routine.
If you're dealing with an existing leak or need professional guidance on maintaining your roof to prevent leaks, ARRC Ltd can assess your roof and recommend the right solution.
Frequently Asked Questions
How often should a roof be inspected to prevent leaks?
Inspect your roof at least twice yearly: in spring and autumn. After severe storms, high winds, or heavy snow, conduct an additional inspection. Early detection of cracked tiles, missing shingles, or flashing damage prevents water damage and costly repairs. Many homeowners miss problems that develop between seasons, so regular checks catch issues before they worsen.
What are the main signs of a leaking roof?
Interior signs include ceiling stains, water dripping during rainfall, damp patches on walls, and mould growth. Exterior indicators are cracked or missing roof tiles, separated flashing, moss buildup, and standing water pooling on flat roofs. Don't ignore even small stains, they indicate water has already penetrated your roof structure and insulation, risking structural damage.
Can regular roof maintenance really prevent costly repairs?
Yes. Preventive maintenance catches problems early when repairs cost hundreds rather than thousands. Clearing gutters prevents water buildup and leaks. Replacing cracked tiles stops water entry. Maintaining flashing seals protects vulnerable areas. Most expensive roof damage results from neglected maintenance, pooling water, blocked drainage, and unchecked debris damage roofing materials over time.
What's the best way to maintain a flat roof to avoid leaks?
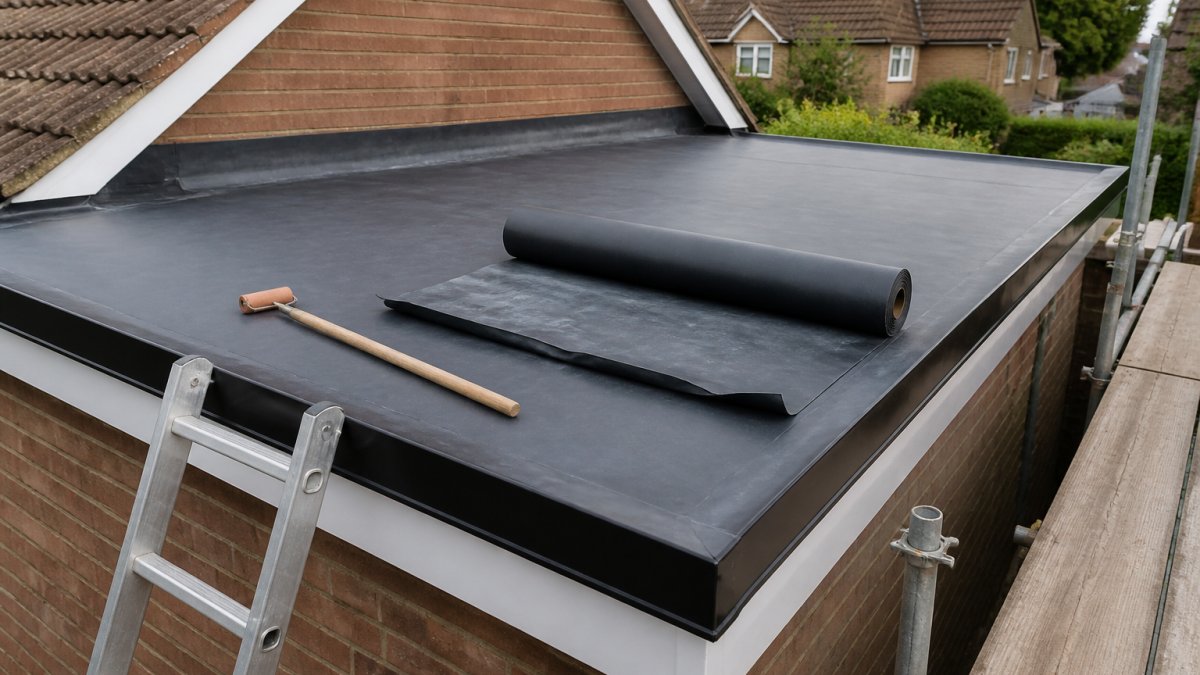
Flat roof maintenance focuses on drainage and surface protection. Clear all debris regularly to prevent standing water, which degrades materials. Inspect seams and flashing for separation or cracks. EPDM rubber roofs require checking for punctures and UV damage. Ensure roof drains work properly and aren't blocked. Annual professional inspections catch membrane issues before they cause leaks, extending your roof's lifespan significantly.