 ultimate-guide
Commercial EPDM Roofing Installation Guide for 2026
Table of Contents
- Why Commercial EPDM Roofing Installation Demands a Different Approach
- Phase 1: Substrate Preparation and Roof Deck Assessment
- EPDM Adhesive Application Best Practices
- Membrane Positioning, Rolling, and Seam Integrity
- Detailing, Flashing, and Roof Penetration Sealing
- How Long Does EPDM Roofing Last?
- EPDM Roofing Maintenance Checklist for Long-Term Protection
- Retrofit vs. New Build: Adapting the Installation Workflow
- Frequently Asked Questions
Last Updated: September 8, 2026
Commercial EPDM roofing installation is a fundamentally different discipline from residential DIY work. When covering a 500-square-metre warehouse roof instead of a garage, the margin for error shrinks dramatically, and a poorly bonded seam becomes a structural issue rather than a cosmetic one. A commercial EPDM roofing installation guide must address substrate tolerances, wind uplift calculations, and building regulation compliance that never appear in a domestic context. At ARRC Ltd, our team has over 30 years of experience installing rubber roofing across Staffordshire, Cheshire, and Stockport. We understand that the difference between a roof that lasts decades and one that fails in years is almost always decided before the membrane is unrolled.
EPDM roofing installation is the process of adhering a synthetic rubber membrane to a roof deck to create a continuous, weatherproof barrier. The material's durability and flexibility only materialise when installation is executed correctly. In commercial work, you are also designing for thermal expansion across a vast surface area, meaning every seam and fixing must accommodate movement without failing.
Why Commercial EPDM Roofing Installation Demands a Different Approach
The most common mistake is treating commercial work like a scaled-up domestic job. A garage roof might have two or three penetrations; a commercial unit can have dozens of vents, HVAC units, and skylights, each a potential failure point. Detailing must be systematic, and sequencing must account for weather windows that are rarely ideal.
Commercial projects face stricter scrutiny. Building control officers expect evidence that the system meets standards for fire performance and wind uplift resistance. The guidance from the UK Government guidance on building regulations for roofing sets out the performance criteria any commercial roofing system must satisfy. Unlike residential work, commercial installations demand documented compliance at every stage.
Another critical distinction is the substrate. Commercial decks are frequently constructed from metal liner panels or structural concrete, both with different requirements for vapour control and insulation than timber decks. Getting this wrong leads to condensation within the roof build-up, a silent and expensive failure.
Phase 1: Substrate Preparation and Roof Deck Assessment
Before any membrane touches the deck, the substrate must be assessed for structural soundness, moisture content, and surface profile. On a commercial project, this means a full survey checking for deflection, corrosion, or damage to insulation boards. Any defect found here is far cheaper to fix than one discovered after the membrane is down.
The surface must be clean, dry, and free of loose debris, oil, or old adhesive residue. For concrete decks, this often means power washing followed by drying; for metal decks, it means removing rust and ensuring fixings are secure. Moisture testing is non-negotiable, as trapped moisture will vapourise under the dark membrane and cause blistering.
A common approach is to install a vapour barrier over the deck before the insulation layer, particularly on metal decks where warm internal air can condense. The insulation boards should be mechanically fastened or fully bonded, depending on wind uplift calculations derived from standards that specify fixing patterns based on building geometry and local wind exposure.
EPDM Adhesive Application Best Practices
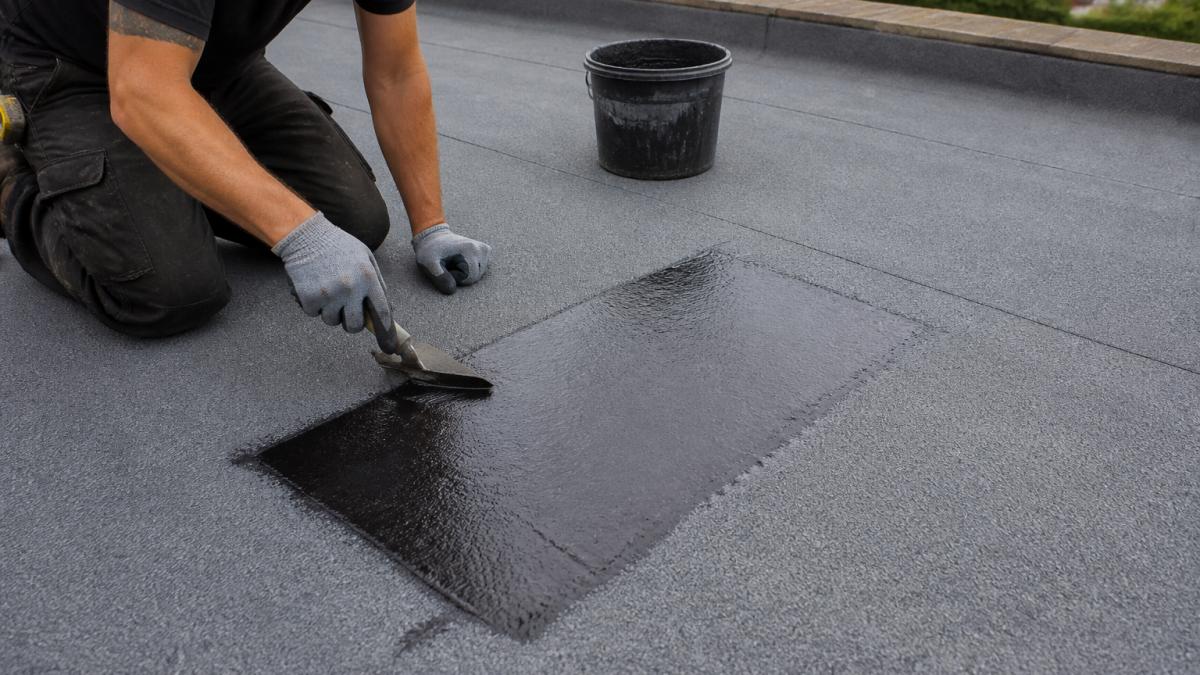
The bond between membrane and substrate is only as strong as the adhesive application. EPDM adhesive application best practices begin with selecting the correct adhesive for the substrate, as bonding to insulation board requires a different product than bonding to a metal deck. The technical data sheet specifies coverage rates, which should be followed precisely.
Both the membrane and the substrate must be coated with adhesive, which must be allowed to flash off until tacky but not wet. Bonding too early or too late results in a weak joint. In cooler or more humid conditions, flash-off time increases, and the installer must adjust the pace of work. The [EPDM Roofing(/epdm-rubber-roofing-benefits-explained) Association technical guidance on adhesive application | epdmroofs.org] provides detailed tables on coverage rates and curing times worth consulting before any large project.
The adhesive should be applied with a medium-pile roller, working in manageable sections so it does not dry before the membrane is laid. For large commercial areas, spray application is sometimes used, but this requires even more careful control. Adhesion testing should be carried out on a small area before full installation begins.
Membrane Positioning, Rolling, and Seam Integrity
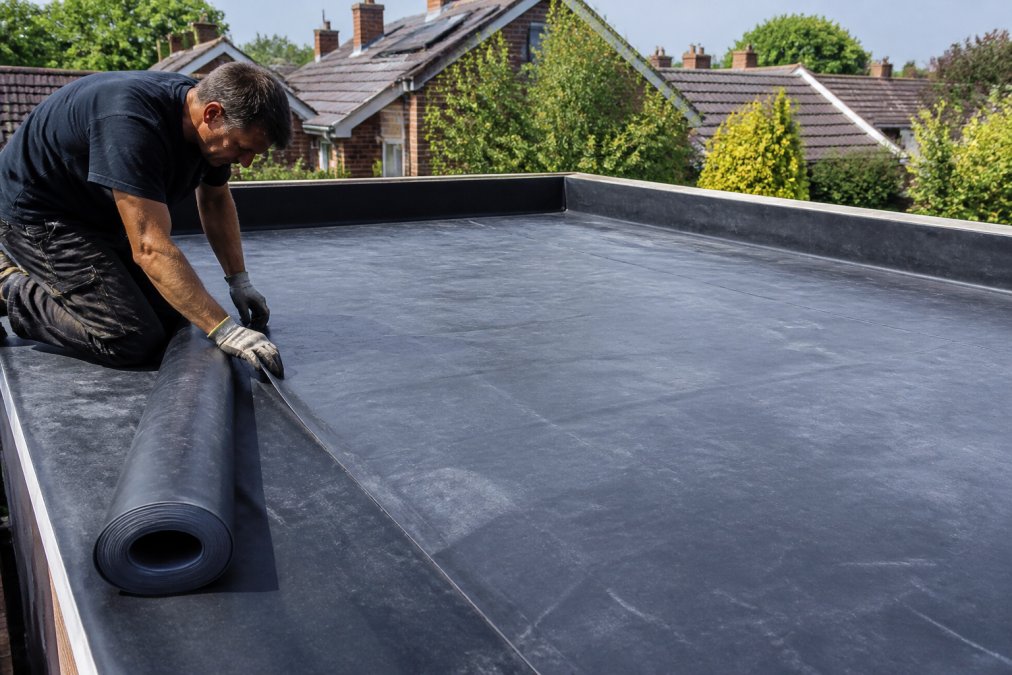
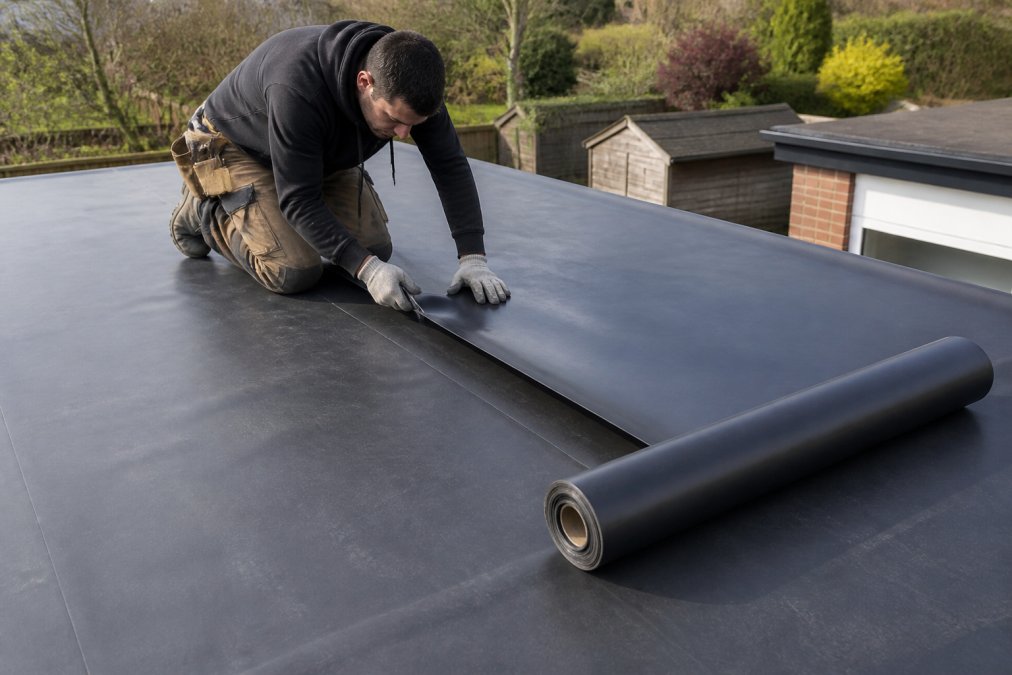
Positioning a full-width EPDM sheet on a commercial roof is a logistical exercise. The sheets are heavy, and wind can turn an unrolled membrane into a sail. The membrane should be dry-laid and positioned first, allowing it to relax and acclimate to the roof temperature before the adhesive bond is made. Forcing it into position on a hot day will create wrinkles when it cools.
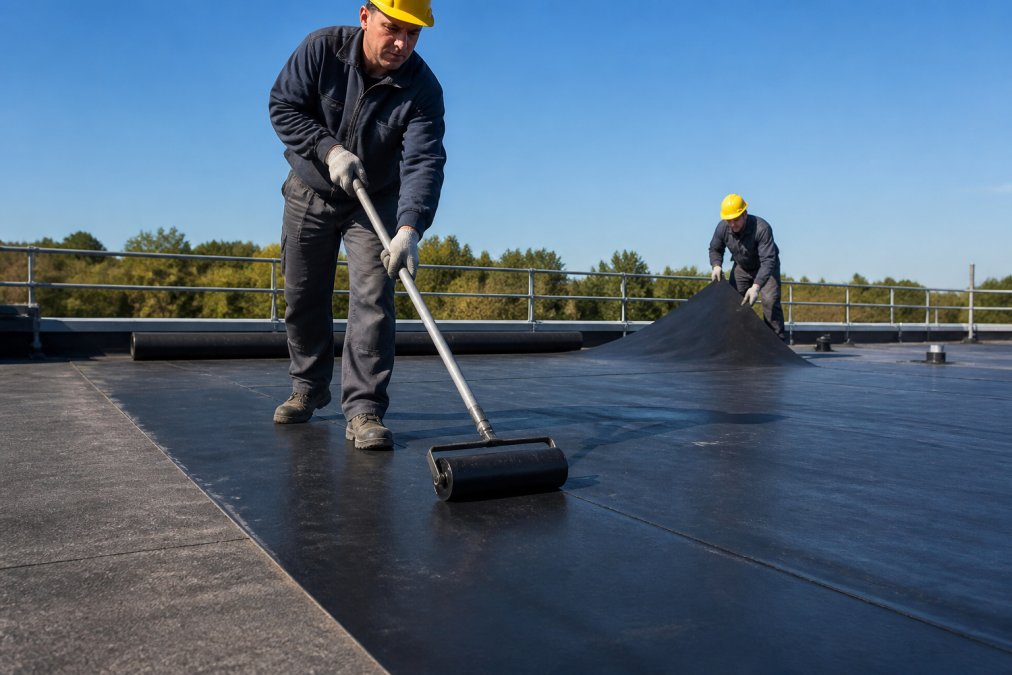
Once the adhesive has flashed, the membrane is folded back and progressively bonded to the substrate. A heavy roller is essential to remove air pockets and ensure full contact, applied systematically from the centre outwards to push air towards the edges. commercial roof hatches.
Seam integrity is where commercial EPDM roofing installation lives or dies. Adjacent sheets must overlap by a specified amount, typically 75 to 150 millimetres. The seam area is cleaned with a primer, and seam tape or liquid splice adhesive is applied. A seam roller applies firm, even pressure along the entire joint. The tensile strength of a correctly spliced seam should be as strong as the membrane itself, but this requires meticulous surface preparation.
| Installation Phase | Typical Commercial Duration | Critical Quality Check |
|---|---|---|
| Substrate survey and prep | 1-2 days per 500 m² | Moisture content below specified limit |
| Insulation and vapour barrier | 1 day per 500 m² | Fixing pattern matches wind uplift calcs |
| Membrane bonding | 2-3 days per 500 m² | Adhesion test passed before full bond |
| Seaming and detailing | 1-2 days | Seam roller pressure applied consistently |
| Flashing and penetrations | 1-2 days | All terminations sealed and dressed |
Detailing, Flashing, and Roof Penetration Sealing
Detailing is the most labour-intensive part of any commercial EPDM roofing installation, and it is where installer experience shows. Every roof penetration, from a soil vent pipe to a large HVAC unit, requires a flashing system that accommodates both thermal movement and water runoff. Water must be directed away from the penetration, and the flashing must be mechanically fixed and sealed at its top edge.
Pipe penetrations are typically flashed using a pre-formed EPDM pipe boot or a collar cut from uncured membrane. The flashing is sealed to the pipe with a compression clamp and a bead of sealant, and the base is spliced into the main membrane using the same seam tape and roller technique as a standard lap joint. For larger penetrations, such as curbs for HVAC units, the membrane is dressed up the curb and terminated with a metal counter-flashing fixed into the curb and sealed.
Roof edges are another critical detail. The membrane must be terminated with a metal edge trim mechanically fastened to the roof structure, not just glued. The trim protects the membrane from wind uplift at the perimeter, where the highest wind pressures occur. The [Building Research Establishment guidance on flat roof(/why-flat-roof-seams-fail) edge detailing | bre.co.uk] offers useful diagrams on correct edge termination for various roof build-ups.
Drainage outlets also require careful attention. The membrane should be dressed into the outlet sump and clamped, ensuring the outlet is lower than the surrounding roof surface to prevent ponding. Standing water accelerates algae growth and can compromise seams if the water level reaches them.
How Long Does EPDM Roofing Last?
A professionally installed EPDM roof will typically last 40 to 50 years. The material is highly resistant to UV degradation and ozone, and it remains flexible at low temperatures, so it does not crack or become brittle over time in the way that some other single-ply membranes do.
The lifespan of an EPDM roofing installation depends more on installation quality than on the material. A roof with poor seams, inadequate flashing, or insufficient adhesive coverage will fail prematurely, regardless of membrane quality. This is why the 20-year guarantee offered by ARRC Ltd on flat rubber roofs is a meaningful indicator of confidence, as it covers workmanship as well as materials.
Regular inspection is the key to realising the full lifespan. Small issues, such as a lifted seam edge or a cracked sealant bead, are inexpensive to repair if caught early. Left unchecked, they allow water ingress, which can saturate insulation and lead to a full roof replacement far sooner than expected.
EPDM Roofing Maintenance Checklist for Long-Term Protection
An EPDM roofing maintenance checklist should be a scheduled activity, not an afterthought. For commercial properties, we recommend inspections twice a year, typically in spring and autumn, and after any severe storm. The inspection should be systematic, covering the entire roof surface and all details.
- Check all seams and lap joints for any signs of lifting, bubbling, or separation
- Inspect flashings around all penetrations and roof edges for cracks or gaps in sealant
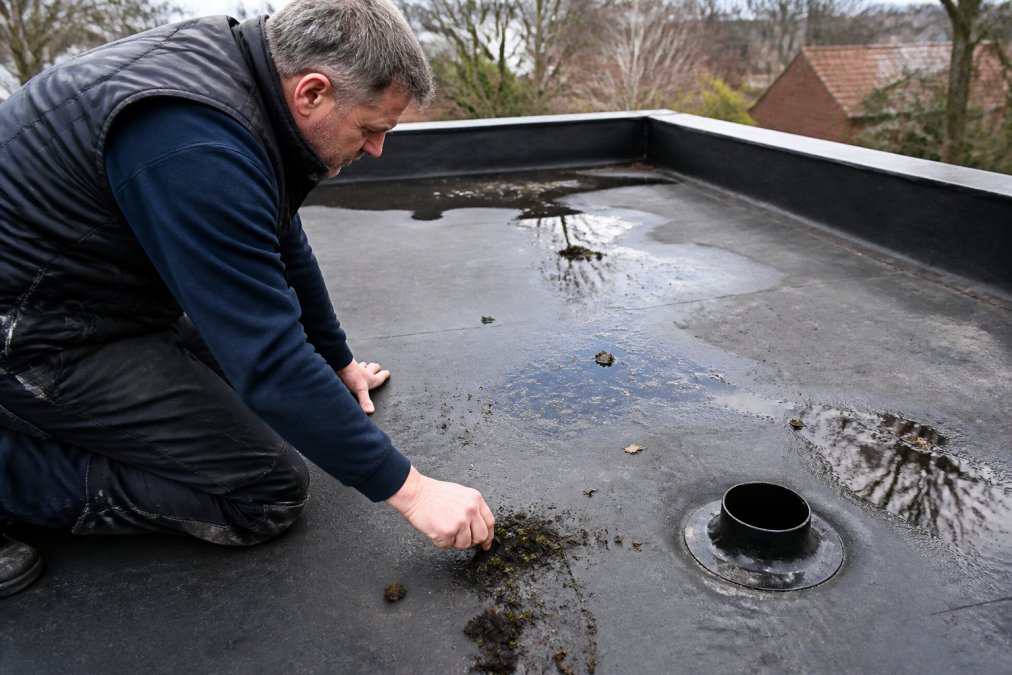
- Clear debris from drains, gutters, and outlets to ensure unobstructed water flow
- Look for ponding water that remains 48 hours after rainfall
- Examine the membrane surface for punctures, cuts, or signs of UV degradation
- Check the condition of sealant beads and replace any that are cracked or missing
- Verify that mechanical fixings on edge trims are secure and not corroded
A common mistake is allowing debris to accumulate around drains. Leaves and dirt wash into the outlet and form a dam, causing water to back up onto the roof. On a commercial roof with a slight pitch, this can lead to standing water that finds its way through a seam. Keeping drains clear is the most cost-effective maintenance activity there is.
Retrofit vs. New Build: Adapting the Installation Workflow
The installation workflow for a retrofit project differs significantly from a new build. On a new build, the roof deck is clean, the insulation is new, and sequencing is straightforward. On a retrofit, the existing roof build-up must be assessed to determine whether it can be overlaid or stripped back to the deck. This decision has major implications for cost, programme, and thermal performance.
A common approach is to overlay the new EPDM membrane over existing insulation, provided the existing surface is sound, dry, and smooth. This is faster and produces less waste, but it raises the height of the roof edge, which can affect parapet details and drainage falls. The additional weight must also be checked against the building's structural capacity.
Stripping back to the deck is often the better long-term choice for commercial buildings, particularly if the existing insulation is saturated or the vapour control layer is compromised. It allows the installer to correct any substrate issues and to specify new insulation with the exact thermal performance required. This approach also improves the roof's energy efficiency, which is increasingly important as commercial buildings face stricter UK energy performance standards for non-domestic buildings.
The decision between retrofit and strip-back should be based on a proper survey, not on cost alone. A retrofit that fails because the existing substrate was not sound will end up costing more than a strip-back would have done in the first place.
Commercial EPDM roofing installation demands precision, experience, and a willingness to do the unglamorous work of substrate preparation and detailing correctly. The material is forgiving, but the installation is not. For property owners and managers across Staffordshire, Cheshire, and Stockport, working with an experienced team can make the difference between a roof that performs for decades and one that becomes a recurring problem. ARRC Ltd specialises in EPDM rubber roofing with a 20-year guarantee on flat rubber roofs, backed by a five-star reputation for communication and workmanship. Get started with ARRC Ltd and secure a roof that protects your building for the long term.
Frequently Asked Questions
What are the building regulation requirements for commercial flat roofing in the UK?
Commercial EPDM roofing installation must comply with the Building Regulations 2010, particularly Part B (fire safety) and Part L (conservation of fuel and power). The roof structure must meet wind uplift resistance and structural loading standards such as BS 6399 or the newer BS EN 1991. A qualified installer should provide a technical data sheet and installation manual to demonstrate compliance. For larger projects, building control approval is mandatory, so confirm your contractor manages this process.
How does EPDM installation differ for commercial versus residential roofs?
Commercial projects involve larger roof decks, more penetrations like HVAC units, and stricter safety and compliance rules. Substrate preparation must account for higher foot traffic and structural movement. Seam integrity is critical because a failure on a large roof creates bigger leak risks. Commercial installations often use mechanically fastened systems alongside full bonding adhesive to handle greater wind uplift. Residential EPDM roofing is typically fully adhered with fewer complex details.
Can EPDM be installed over existing commercial roofing materials?
Yes, but only over suitable substrates. EPDM membrane can be installed over a sound, smooth existing roof such as modified bitumen or a cured membrane, provided it is clean, dry, and free of loose materials. It cannot be laid over incompatible surfaces like asphalt that contains oils which can degrade the rubber. A professional should assess the roof deck, check for moisture, and may need to add an insulation board or vapour barrier before installation.
What is the standard procedure for sealing EPDM seams on large commercial roofs?
Seams are sealed using seam tape or a liquid lap sealant, never with bonding adhesive alone. The membrane overlap should be cleaned with a primer and allowed to flash off. Seam tape is applied along the overlap, then pressed firmly with a seam roller to ensure full contact and eliminate air bubbles. The exposed edge receives a lap sealant bead for extra protection. Proper seam integrity depends on dry conditions and temperatures above 10°C during application.
How long does a professional EPDM installation take for commercial properties?
A typical commercial roof installation takes 2 to 5 days, depending on the roof size, number of penetrations, and whether it is a retrofit. Preparation of the substrate takes the longest, as the roof deck must be completely dry and smooth. Detailing around roof penetrations and perimeter flashing adds significant time. A professional team will provide a clear timeline after assessing the site so you can plan around business disruption.
What safety standards must be met during commercial roof installation?
Commercial roof work must follow the Work at Height Regulations 2005. This requires a risk assessment, use of guardrails or safety nets, and proper access equipment such as scaffolding or a mobile elevated work platform. The contractor must be insured and follow a detailed method statement. Anyone working on the roof must have appropriate training and use personal protective equipment. Ask for proof of insurance and safety documentation before work begins.
How do I know the EPDM adhesive is applied correctly for full bonding?
Correct EPDM adhesive application starts with using the manufacturer's specified bonding adhesive and primer. The adhesive should be applied evenly with a roller or brush to both the substrate and the membrane, then left until tacky. The membrane is rolled into place, and a broom or roller removes trapped air. Adhesion testing involves lifting a corner after curing to check the bond. Always follow the technical data sheet's coverage rates and curing time.