 how-to
Signs of Water Damage Under Flat Roof: 2026 Guide
Table of Contents
- Early Warning Signs of Water Damage Under a Flat Roof
- Signs of Flat Roof Failure: When Damage Becomes Structural
- Condensation or Leak? Telling the Difference
- Flat Roof Maintenance Checklist to Prevent Water Ingress
- DIY vs Professional Repair: Knowing Your Threshold
- Flat Roof Leak Repair Cost: What Affects the Price
- Insurance Claims and Documenting Water Damage
- Frequently Asked Questions
Last Updated: September 16, 2026
Early Warning Signs of Water Damage Under a Flat Roof
Spotting the signs of water damage under flat roof structures early is the difference between a straightforward repair and a full deck replacement. According to guidance from the Royal Institution of Chartered Surveyors on flat roof defects, most flat roof failures begin with small breaches that go unnoticed for months. This guide from ARRC Ltd draws on over 30 years of hands-on experience across Staffordshire, Cheshire, and Stockport to help you identify problems before they spread.
Internal Signs: Damp Patches, Discoloured Ceilings and Drip Marks
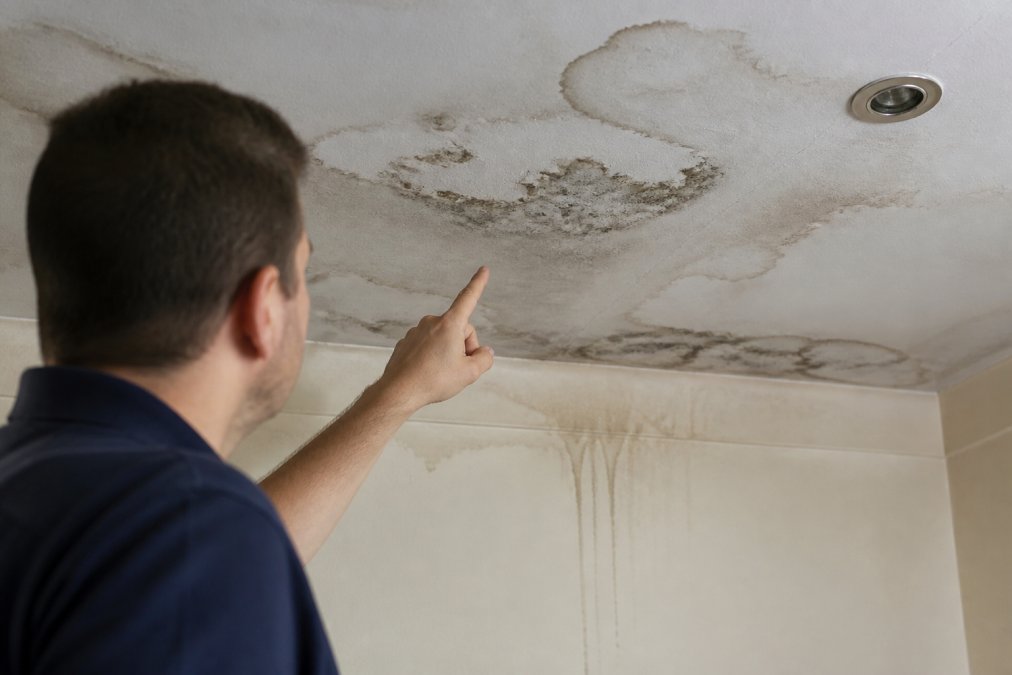
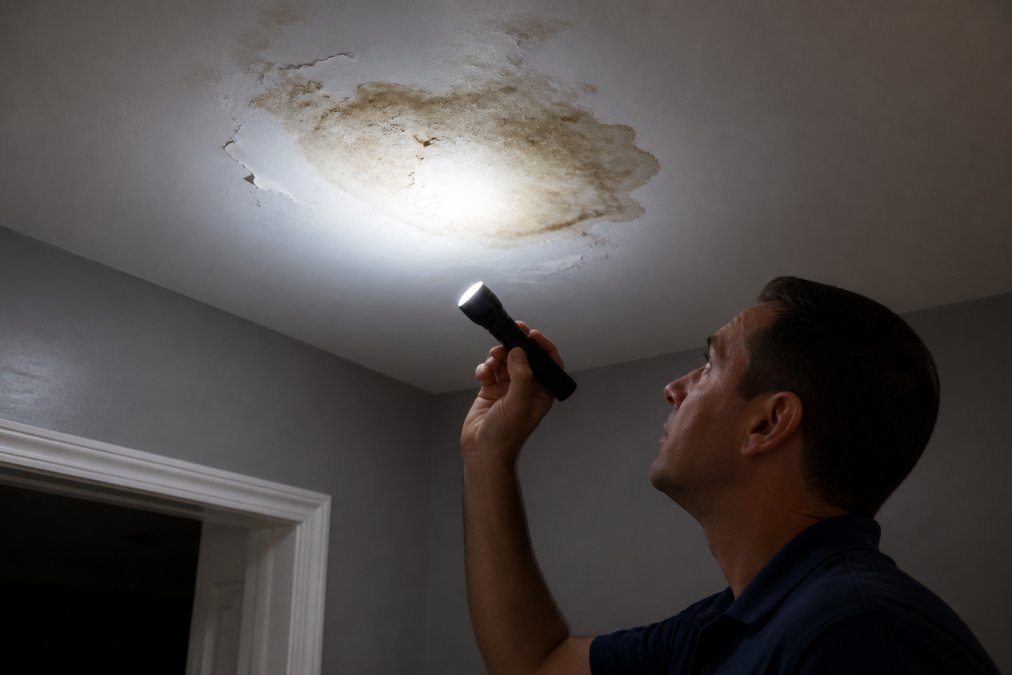
The first internal clues are usually cosmetic, which is why they get ignored. Look for damp patches that appear or grow after heavy rain, discoloured ceiling plaster with a yellow or brown tint, and drip marks around light fittings. Mould near ceiling edges signals weeks of saturation; a musty odour with no staining means water may be trapped above the vapour barrier.
External Signs: Ponding Water, Blistering and Damaged Flashing
Ponding water that remains 48 hours after rain is the single most reliable external warning: flat roofs are pitched to shed water, so persistent pooling means the drainage or membrane has failed. Blistering appears as raised bubbles where trapped moisture has separated the membrane from the deck; delamination shows as peeling edges or open seams.
Signs of Flat Roof Failure: When Damage Becomes Structural
Cosmetic staining tells you water is getting in. Structural indicators tell you how long it has been getting in and whether the roof is safe to walk on, a distinction that changes the repair scope and the insurance conversation.
How to Read the Severity of What You Are Seeing
Not every sign carries the same urgency. Triage what you find into three bands:
- Cosmetic only: isolated ceiling discolouration, minor paint blistering, a faint musty smell after heavy rain. The waterproofing has failed somewhere, but the deck is likely still sound.
- Moisture has reached the structure: recurring damp patches that reappear within days of rain, mould spreading along joist lines, a ceiling that feels cold or clammy to the touch. Water is now sitting in the build-up, not just passing through.
- Structural compromise: deflection in the ceiling line, a spongy feel underfoot on the roof, dark-stained or crumbly timber in the loft, or a screwdriver that sinks into the deck under light hand pressure. This is no longer a waterproofing repair, it is a deck replacement.
Material-Specific Failure Modes
Generic guides treat all flat roofs the same, but the material dictates where failure starts and what it looks like before it becomes visible inside.
- Reinforced bitumen (felt) membranes: these fail at seams and laps first. Look for ridging along joint lines, a brittle or crazed surface, and mineral surfacing worn away to expose the bitumen beneath. Once two or more seams open, the membrane is at the end of its service life and patching simply relocates the problem.
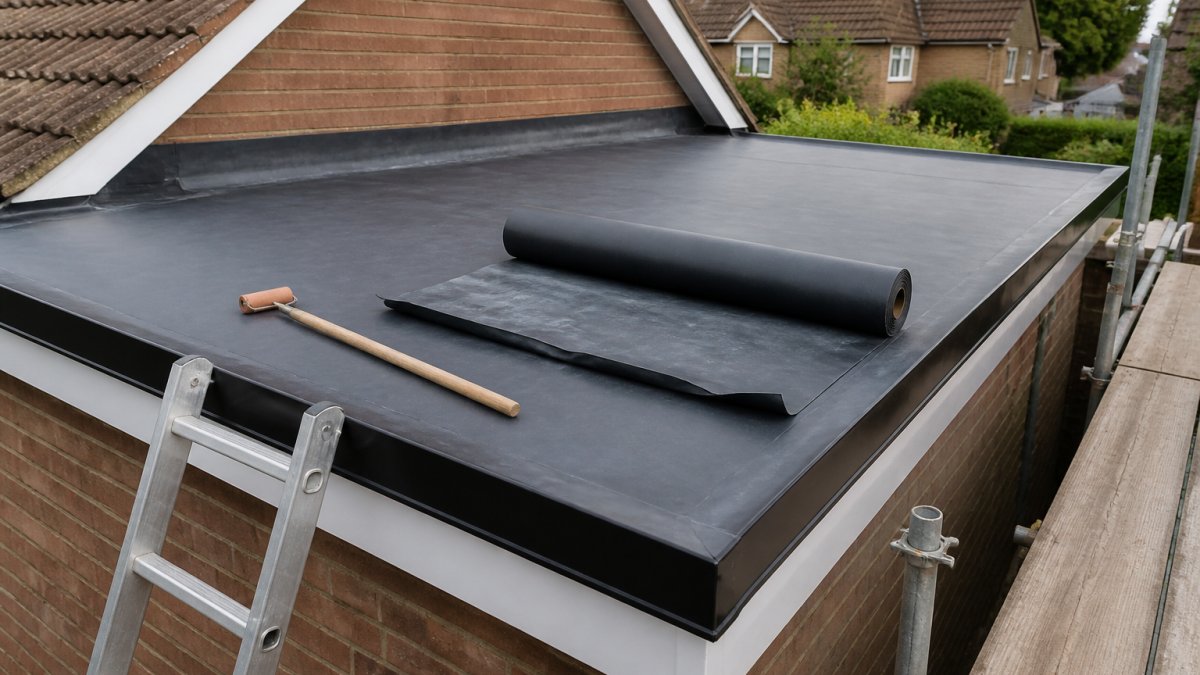
- EPDM rubber: the membrane is highly durable, so failures usually trace back to installation, poorly bonded lap adhesive, inadequate termination bars at upstands, or perimeter shrinkage. Look for lifting edges at the abutment and gaps behind the drip trim rather than surface damage.
- GRP (glass-reinforced polyester): failures cluster around upstand and outlet junctions, and where the topcoat has been walked on or the resin starved during lay-up. Look for hairline cracks radiating from outlets, chalking of the topcoat, and delamination at the edge trims.
- Single-ply and liquid systems: check the terminations and any penetration, vents, flues, soil pipes, where the sealant has perished or the membrane has pulled away from the collar.
Confirming Hidden Moisture Before It Stains the Ceiling
By the time a brown patch appears on the ceiling, water has usually been travelling through the build-up for weeks. Non-invasive detection confirms a suspected leak before that stage.
- Moisture meters: a pin-type or pinless meter read across a grid of the ceiling and roof deck shows elevated readings in a wet zone even where no stain is visible. Take a baseline reading in a known-dry area first.
- Thermal imaging: an infrared camera shows temperature differences across the ceiling. Wet insulation and timber hold heat differently from dry material, so a damp zone reads as a cooler patch after the heating has been on. It works best in the evening after a warm day, when the temperature differential is greatest.
- Tramex-style capacitance meters: the tool most surveyors reach for on flat roofs, because they read through the membrane without puncturing it, which matters when establishing a claim rather than creating a new hole.
When Structural Damage Changes the Repair
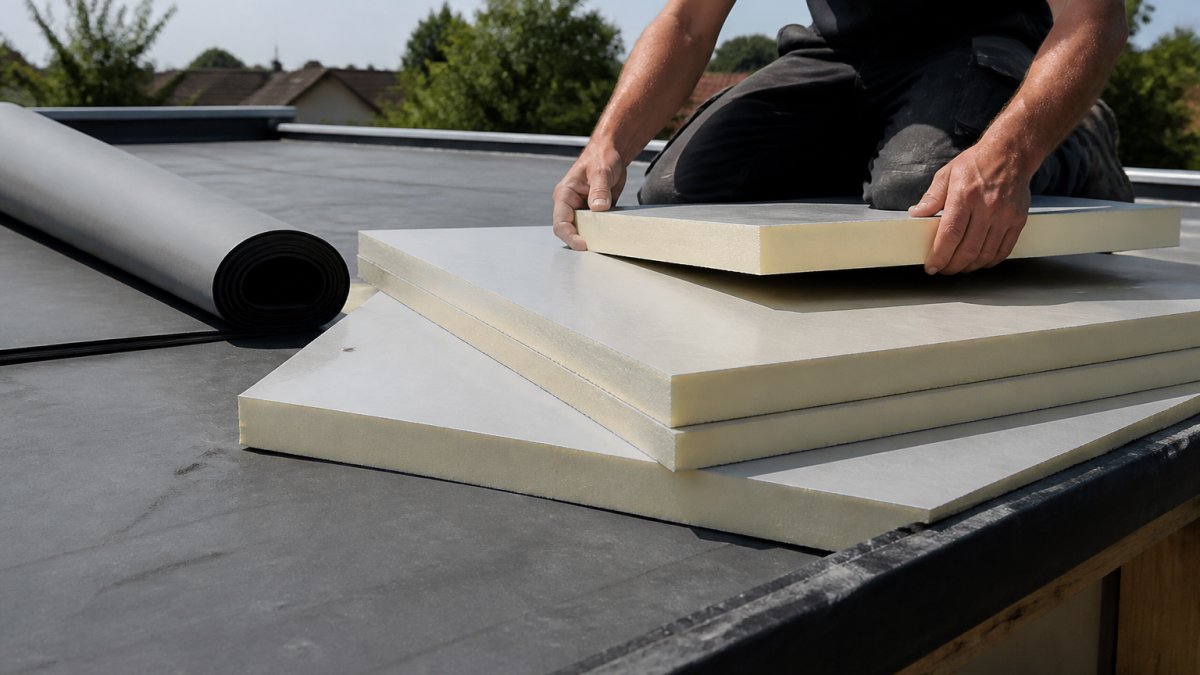
Once the deck is compromised, the repair sequence changes: the membrane is cut back to sound material, wet insulation removed, the deck dried or replaced, and only then is waterproofing reinstated. That is why a leak present for two winters often costs several times more than one caught in its first month. If you see deflection in the ceiling, smell damp in the loft, or push a screwdriver into the deck with light pressure, treat it as a professional assessment.
Condensation or Leak? Telling the Difference
Condensation and leaks produce similar symptoms but need completely different fixes. Condensation appears uniformly across cold surfaces, peaks in winter, and improves with ventilation. A leak produces concentrated staining that tracks downhill and worsens after rain.
Flat Roof Maintenance Checklist to Prevent Water Ingress
A simple flat roof maintenance checklist, run twice a year, prevents most water ingress. Work through it after autumn leaf fall and again in early spring.
- Clear gutters and check for gutter blockage at outlets
- Inspect the drainage system for standing water 48 hours after rain
- Check flashing and abutment seals for cracks or lifting
- Look for blistering, delamination, or punctures across the membrane
- Examine internal ceilings for new damp patches or drip marks
- Confirm the roof pitch still directs water to outlets
- Check skylight and vent seals for perished gaskets
DIY vs Professional Repair: Knowing Your Threshold
Most guides tell you to 'call a professional if you are unsure'. That is not a threshold, it is an abdication. A useful threshold is one you can apply on a wet Saturday afternoon with a torch and a notepad, telling you what you can safely do yourself and what will make things worse.
What Is Genuinely DIY
These tasks are within reach for a competent homeowner with the right access and a head for heights:
- Clearing leaves and debris from outlets and gutters
- Removing a bird's nest or a tennis ball from a rainwater outlet
- Re-sealing a small, isolated flashing crack with a suitable lap sealant or flashband
- Replacing a perished gasket on a skylight or vent
- Photographing and logging the condition of the roof for your records
What Looks DIY but Is Not
The trap is that several jobs look like maintenance but are early-stage repairs that will fail if done badly:
- Patching a blister. Cutting a blister open and sealing it without addressing the moisture underneath simply traps the water and pushes the failure to the next seam.
- Overcoating a felt roof. A brush-applied coating over a failing bitumen membrane will crack within a season because the substrate is still moving.
- Re-sealing an upstand. If the termination bar has pulled away, sealant alone will not hold. The bar needs re-fixing and the membrane needs re-dressing over the upstand.
- Chasing a leak from inside. Painting over a damp ceiling with stain-block does not stop the water; it just hides the evidence you will need for an insurance claim.
The Two-Seam Rule
On felt and bitumen roofs, the most useful threshold is the two-seam rule. One failed seam is a repair; two or more mean the membrane has reached the end of its service life, and patching one seam simply moves the water to the next weakest point. Surveyors see this constantly: a homeowner patches a seam in autumn, and by spring the leak has reappeared two metres away.
The Interior Line
The clearest single threshold: once water has reached the interior, the problem is no longer surface-level. A patch on the outside will not dry out the insulation, deck, or ceiling void, water in the build-up continues to cause rot, mould, and lost insulation performance even if the entry point is sealed. That does not automatically mean a full replacement, but the repair must include drying or replacing the affected build-up, a professional scope of work.
Age and Guarantee Considerations
- Roofs under 10 years old: if the roof is still within its installer's guarantee, do not touch it yourself. Any DIY work will void the guarantee, and the original installer is the correct first call.
- Roofs 10-20 years old: repairs are usually viable, but budget for the possibility that the membrane is approaching the end of its life. Ask the roofer to assess the whole roof, not just the leak.
- Roofs over 20 years old: felt and bitumen systems at this age are typically at or past their service life. A repair may hold for a season or two, but a replacement is usually the better long-term decision.
Documenting Before You Repair
Whatever you decide, document the condition before any work begins. Photograph the damp patch, the failed seam, the ponding water, and the date each symptom first appeared, and keep receipts for maintenance carried out. If you call a professional, ask them to record the failure mode in writing, sudden impact damage, age-related seam failure, and long-term neglect are treated very differently by insurers.
Flat Roof Leak Repair Cost: What Affects the Price
Flat roof leak repair cost depends on the extent of water ingress, the membrane material, and whether the deck needs replacing. Pricing varies by project, so understand the factors rather than chasing a single figure.
| Factor | Why It Changes the Price | Impact |
|---|---|---|
| Damage extent | Surface repair vs. full replacement | Moderate to high |
| Membrane type | Felt, bitumen, or EPDM rubber | Moderate |
| Deck condition | Rotten timber needs replacement | High |
| Roof access | Height, obstructions, skylights | Low to moderate |
| Drainage work | New outlets or re-grading | Moderate |
Insurance Claims and Documenting Water Damage
Insurers reject flat roof claims when damage looks gradual rather than sudden. Documentation is your defence: photograph every damp patch with a date reference, keep maintenance receipts, and note when each symptom first appeared.
Frequently Asked Questions
Is a flat roof leak covered by my home insurance?
Most home insurance policies cover sudden escape of water but exclude damage from lack of maintenance. If a leak results from a blocked gutter or worn felt roofing, your insurer may reject the claim. Check your policy wording for 'gradual deterioration' exclusions. Document all signs of water damage with dated photos and keep receipts for any flat roof maintenance checklist tasks you have completed. This evidence supports your claim and shows the roof was maintained.
What are the signs that my flat roof is leaking?
Look for internal damp patches, discoloured ceilings, drip marks, and mould growth on walls or ceilings below the roof. Externally, check for ponding water, blistering, delamination, damaged flashing, or cracked sealant around abutments. Water staining on brickwork or soffits also indicates water ingress. If you notice any of these signs of water damage under a flat roof, arrange a professional inspection before the problem worsens.
How many years should a flat roof last?
The lifespan of a flat roof can vary depending on the material and installation. EPDM rubber roofing is known for its durability and can offer a long service life with proper maintenance. Regular inspections and a flat roof maintenance checklist help you get the maximum lifespan. If your roof is over 15 years old and showing signs of flat roof failure, plan for replacement rather than repeated repairs.
How do I tell if my roof has condensation or a leak?
Condensation typically appears as misted windows, damp patches without a water trail, or mould growth in cold spots. Leaks leave water staining, drip marks, and active drips during or after rain. Condensation is often linked to poor ventilation and thermal bridging, while leaks stem from punctures, seam failure, or blocked drainage. If damp patches grow after heavy rain, it is likely a leak. A thermal imaging survey can confirm the source.
Water damage under a flat roof rarely announces itself, and by the time ceilings stain, the structure has often been wet for weeks. ARRC Ltd specialises in EPDM rubber roofing, garage roof replacements, and the fascias, soffits, and skylights that complete a watertight system. With over 30 years of experience and a 20-year guarantee on flat rubber roofs, our team diagnoses the cause rather than patching the symptom. Get a quote from ARRC Ltd and stop the leak at its source.