 how-to
Professional Fascia Soffit Installation Guide
Table of Contents
- What You'll Need: Tools and Materials for Fascia and Soffit Installation
- Preparation and Site Safety Before Starting
- Removing Old Fascia Boards and Soffit Boards
- How to Replace Rotten Fascia Boards
- Installing Wall Battens and Soffit Boards
- Fascia and Soffit Ventilation Requirements
- Fixing Fascia Boards and Managing Expansion Gaps
- Common Installation Errors and How to Avoid Them
Last Updated: August 19, 2026
What You'll Need: Tools and Materials for Fascia and Soffit Installation
Installing fascia and soffit boards requires specific tools and materials to ensure a professional finish. Gather everything on site before starting to avoid workflow disruption.
Essential tools include:
- Tape measure and spirit level
- Handsaw or circular saw for cutting boards
- Drill-driver with appropriate bits
- Hammer and nail punch
- Scaffolding or sturdy ladder with stabiliser bars
- Safety harness if working at height above 2 metres
- Protective equipment: gloves, safety glasses, dust mask
Materials depend on your chosen roofline system:
- uPVC soffit boards (solid or vented)
- uPVC fascia boards
- Wall battens (typically 25mm × 50mm timber or plastic)
- Stainless steel nails or polytop pins (never standard nails, they corrode)
- Silicone sealant for joints
- Expansion gap strips where required
- Bird comb for ventilation openings
The quality of your materials directly affects longevity. Budget for stainless steel fixings rather than mild steel; corrosion causes premature failure and water ingress. uPVC boards eliminate timber rot concerns entirely, though timber fascia remains viable if you're prepared for regular maintenance.
Preparation and Site Safety Before Starting
Proper preparation prevents accidents and ensures clean removal of old materials. Falls from height remain the leading cause of serious injury in construction work.
Safety measures you must implement:
- Erect scaffolding or use a properly stabilised ladder with standoff brackets
- Wear a safety harness if working above 2 metres (Building Regulations requirement)
- Cordon off the work area below to prevent debris hitting people
- Check weather forecasts; never work on wet or windy days
- Use a spotter when working at height alone
- Inspect your ladder or scaffolding before every use
Site preparation steps:
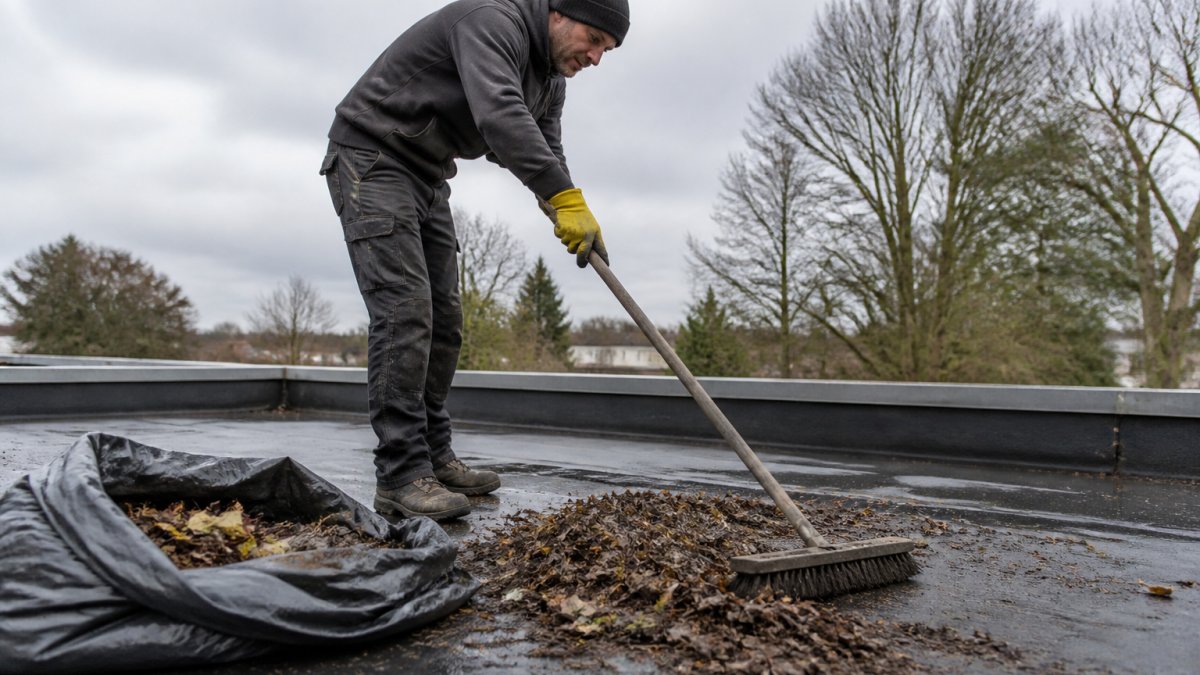
- Clear guttering of leaves and debris
- Disconnect downpipes if attached to fascia boards
- Remove external fixtures (light fittings, bird feeders) from the roofline
- Protect windows and doors below with dust sheets
Many homeowners skip safety setup because it feels excessive. One slip from a ladder at roof height doesn't give you a second chance.
Removing Old Fascia Boards and Soffit Boards
Removing rotten or damaged boards safely requires patience and the right technique. Rushing this stage often damages the underlying rafter feet and wall structure, creating expensive repair work later.
Removal sequence:
- Disconnect and remove guttering from the fascia board
- Carefully prise away the old fascia using a flat pry bar, working from one end
- Remove polytop pins or nails holding the soffit board to wall battens
- Slide the soffit board out sideways; don't drop it, as it may contain asbestos (if pre-1980s)
- Inspect the wall battens for rot or damage
- Remove any damaged battens and underlying timber
Old fascia and soffit boards often contain asbestos if installed before the 1980s. Never sand, cut, or drill these materials. If you suspect asbestos, stop work and contact a specialist contractor.
The rafter feet often show signs of moisture damage after years of exposure. Check for soft spots by pressing with a screwdriver. If the timber compresses easily, it's rotted and needs replacement before new boards go on.
How to Replace Rotten Fascia Boards
Rotten timber fascia boards must be replaced entirely; patching doesn't work because rot spreads within the timber.
Replacement process:
- Measure the existing fascia board length, depth, and thickness
- Order replacement boards (timber or uPVC) with identical dimensions
- Install new wall battens if the old ones are damaged
- Cut the new fascia board to length, allowing 3-5mm expansion gap at each end
- Attach the fascia using stainless steel nails or polytop pins, spaced 300-400mm apart
- Ensure the fascia is level before fixing
- Seal any gaps with silicone sealant
Timber fascia boards require annual maintenance. Many homeowners choose uPVC fascia instead to eliminate this burden. uPVC boards cost more upfront but require only occasional cleaning and last 30+ years without degradation.
The expansion gap at each end prevents the fascia from splitting when temperature changes cause it to expand and contract. Ignore this gap and you'll see cracks within 12 months.
Installing Wall Battens and Soffit Boards
Wall battens provide the structural support for soffit boards and distribute the load across the building's sub-structure. Without proper battens, soffit boards sag and water pools behind them.
Batten installation steps:
- Measure from the rafter feet down to the wall to determine batten length
- Cut battens to length (typically 25mm × 50mm timber or plastic)
- Fix battens horizontally to the wall using masonry anchors spaced 400-600mm apart
- Check battens are level using a spirit level
- Allow 5mm gap between the batten and the wall for ventilation airflow
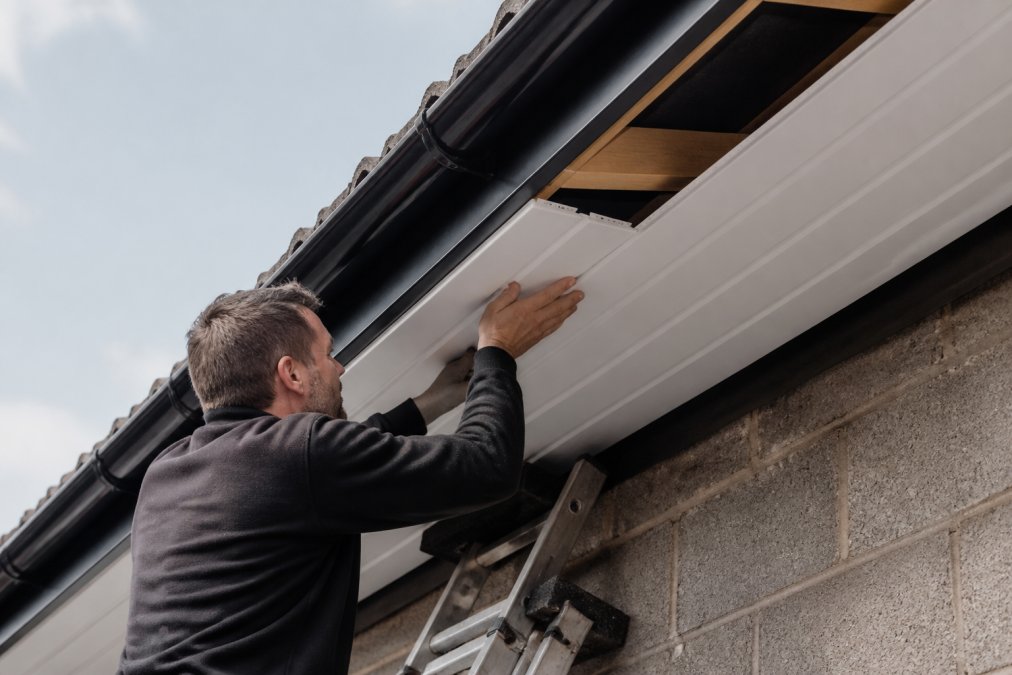
- Slide soffit boards onto battens from one end
- Fix soffit boards to battens using stainless steel nails or polytop pins, spaced 300-400mm apart
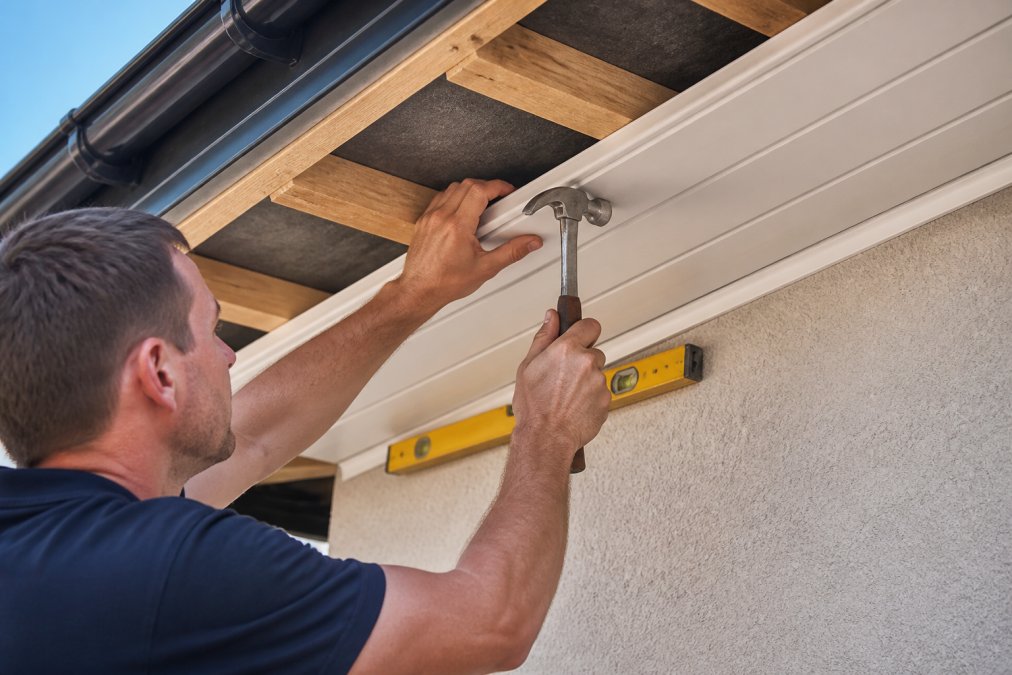
The gap between batten and wall is critical for ventilation. Without it, moisture becomes trapped and causes timber rot or mould growth. This 5mm gap allows air to circulate naturally, keeping the sub-structure dry. identifying roof decking rot.
Soffit boards come in solid or vented varieties. Vented soffits allow airflow into the roof space, which is essential for preventing condensation buildup. Most installations require vented boards.
Fascia and Soffit Ventilation Requirements
Ventilation is not optional; it's a building regulation requirement and essential for roof longevity. Without adequate airflow, moisture accumulates in the roof space, causing rot, mould, and structural damage.
Building Regulations require that roof spaces have continuous ventilation. The ventilation opening must be equivalent to 1/500th of the roof area. This ventilation is typically provided through soffit vents combined with roof vents or ridge ventilation.
Ventilation components:
- Vented soffit boards with small perforations
- Soffit vents with bird comb protection
- Ventilation strips installed between soffit and batten
- Ridge vents or roof vents to allow warm, moist air to escape
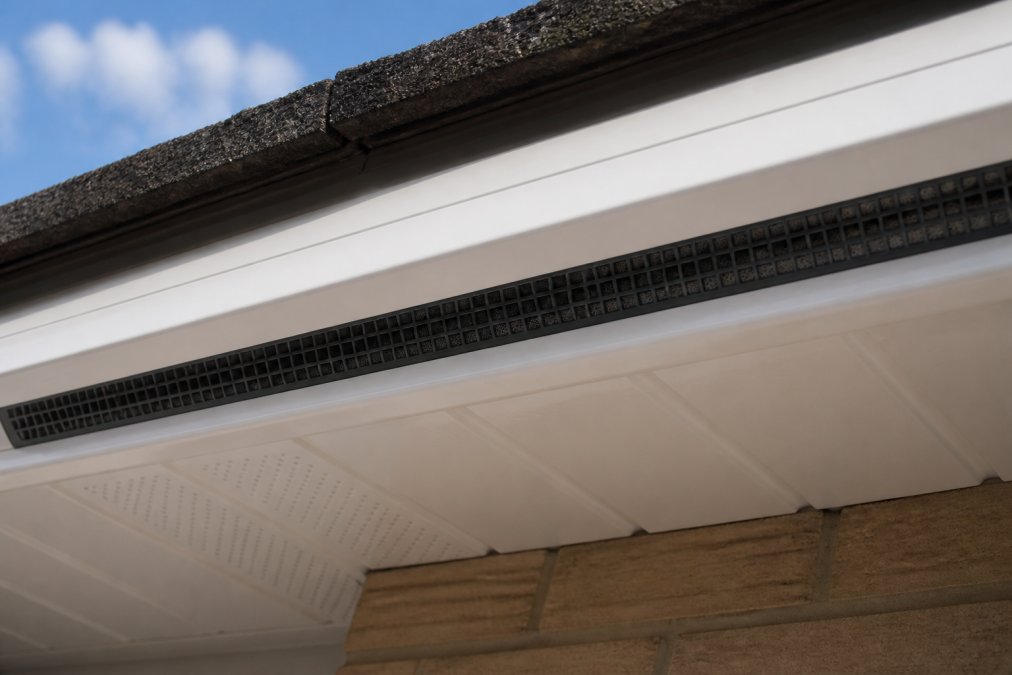
Outside air enters through soffit vents, flows across the roof pitch, and exits through ridge or roof vents. This continuous airflow removes moisture before it can condense and cause damage. Never block soffit vents with insulation or debris.
According to UK Building Regulations Technical Guidance on roof ventilation, roof spaces must have continuous ventilation to prevent condensation and moisture accumulation.
Fixing Fascia Boards and Managing Expansion Gaps
Fascia boards must be fixed securely to prevent wind damage and water ingress, but they also need room to expand and contract with temperature changes.
Fascia fixing method:
- Attach the fascia board to the rafter feet using stainless steel nails or polytop pins
- Space fixings 300-400mm apart
- Drive nails at a slight downward angle (10-15 degrees) to prevent the board from lifting in wind
- Leave 3-5mm expansion gaps at each end where the fascia meets the wall or corner trim
- Fill expansion gaps with silicone sealant after the board settles (wait 2-3 weeks)
Expansion gaps prevent fascia boards from splitting when they expand in hot weather. Never use rigid filler in expansion gaps; use flexible silicone sealant only. Rigid filler locks the board in place and causes splitting.
The angle of nail entry matters. Nails driven straight in can work loose as the board expands and contracts, allowing water to seep behind the fascia. Angled nails grip the rafter feet more securely.
Common Installation Errors and How to Avoid Them
Most fascia and soffit failures result from preventable mistakes during installation.
Error 1: Inadequate or missing ventilation Blocking soffit vents or omitting ventilation causes condensation accumulation, roof timber rot, and structural failure within 5-10 years. Always ensure continuous ventilation through soffit vents and roof vents.
Error 2: Fixing boards too tightly (no expansion gap) Boards fixed without expansion gaps split and crack within 12-24 months. The 3-5mm gap at each end is essential. Seal the gap with flexible silicone after 2-3 weeks, not rigid filler.
Error 3: Using mild steel nails instead of stainless steel Mild steel nails corrode within months, causing rust stains and allowing water ingress. The extra cost of stainless steel fixings is negligible compared to repair costs.
Error 4: Skipping wall batten inspection Old battens with rot or insect damage fail under the weight of new soffit boards. Always inspect battens before installing new boards and replace any showing signs of damage.
Error 5: Incorrect batten spacing Battens spaced too far apart (over 600mm) allow soffit boards to sag between supports. Support every 400-600mm maximum.
Error 6: Neglecting the roof pitch slope Fascia boards must follow the roof pitch exactly. If the fascia is level but the roof pitch slopes, water pools at the low end and causes rot.
According to Federation of Master Builders guidance on fascia and soffit installation, proper installation requires attention to ventilation, expansion gaps, and structural support.
Professional fascia soffit installation requires careful attention to ventilation, expansion gaps, and structural support. At ARRC Ltd, we've completed many installations across Staffordshire, Cheshire, and Stockport.
The difference between an installation that lasts and one that fails comes down to three things: proper ventilation, stainless steel fixings, and respecting expansion gaps.
If you're planning a fascia and soffit installation and want the work done to professional standards with materials that last, ARRC Ltd offers expert installation backed by our commitment to quality workmanship. We handle the ventilation, the expansion gaps, and the structural inspection so you don't have to worry about water damage or premature failure. Building Research Establishment guidance on moisture and condensation in buildings confirms that proper ventilation and moisture management are essential for building durability.
Get a quote from ARRC Ltd today and ensure your fascias and soffits are installed correctly the first time.
| Installation Stage | Key Focus | Common Mistake |
|---|---|---|
| Preparation | Safety and site clearance | Skipping scaffolding setup |
| Batten installation | Level, spacing, ventilation gap | Battens spaced too far apart |
| Soffit fitting | Vented boards, proper support | Using solid boards everywhere |
| Fascia fixing | Stainless steel nails, angled entry | Mild steel nails causing corrosion |
| Expansion gaps | 3-5mm at each end | Fixing boards too tightly |
| Ventilation | Continuous airflow path | Blocking soffit vents |
Frequently Asked Questions
Do I need to remove old fascias before installing new ones?
Yes, old fascia and soffit boards must be removed to inspect the sub-structure for damage, timber rot, or moisture ingress. Removing them also allows you to check rafter feet for deterioration and ensures the new boards sit properly against sound timber. Skipping this step risks trapping moisture and accelerating decay beneath the new cladding.
What are the building regulations for fascia and soffit installation?
Building regulations require that fascia and soffit installations maintain structural integrity and prevent moisture ingress into the roofline. Materials must be suitable for external use, and ventilation must be adequate to prevent condensation. If your installation involves significant structural changes, you may need building control approval. Always check with your local building control authority before starting.
How do you ensure proper ventilation in soffit boards?
Install soffit vents at regular intervals along the eaves to allow air circulation between the roof space and outside. Use ventilation strips or bird comb to prevent debris and pests entering while maintaining airflow. The total vent area should typically be 1/300th of the roof area. Proper ventilation prevents condensation, reduces moisture damage, and extends the life of your roofline.
Should I use nails or screws for fascia board installation?
Stainless steel nails or polytop pins are recommended for fascia and soffit boards as they resist corrosion and provide secure fastening without splitting uPVC or timber. Screws can work but may cause cracking in some materials. Space fasteners every 150-200mm and ensure they sit flush without crushing the board. Always use corrosion-resistant fixings to prevent rust staining and structural failure.
This article was written using GrandRanker